-
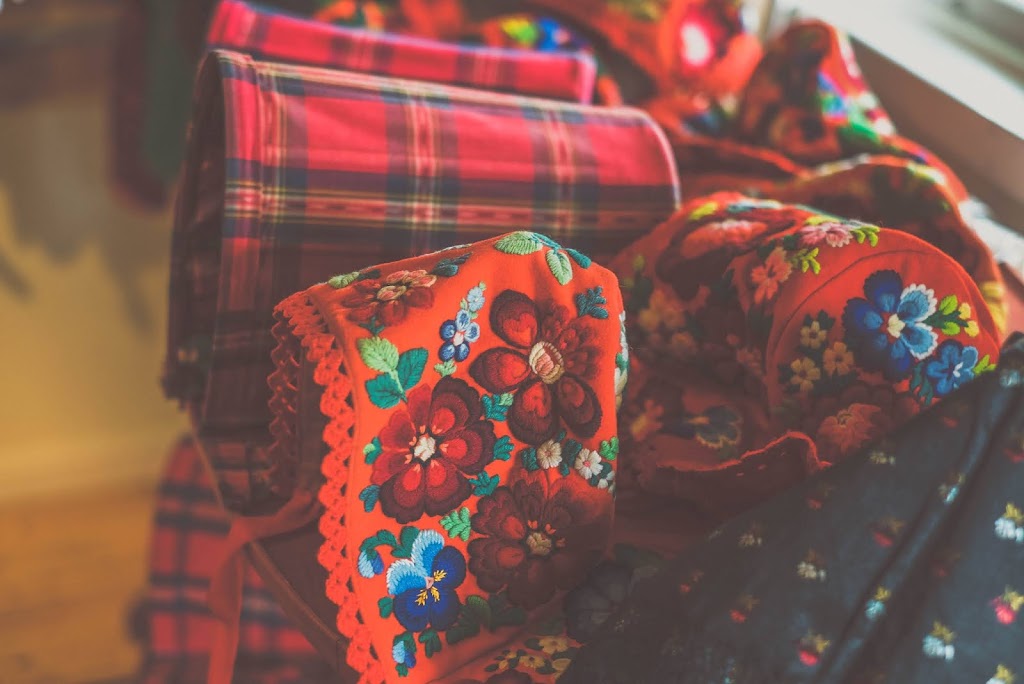
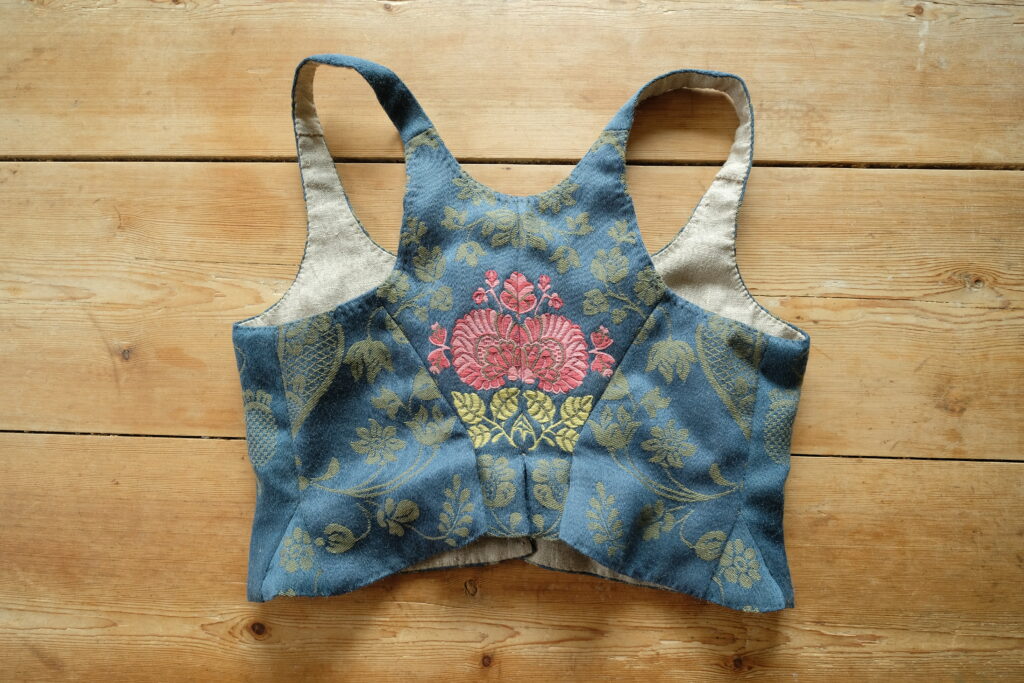
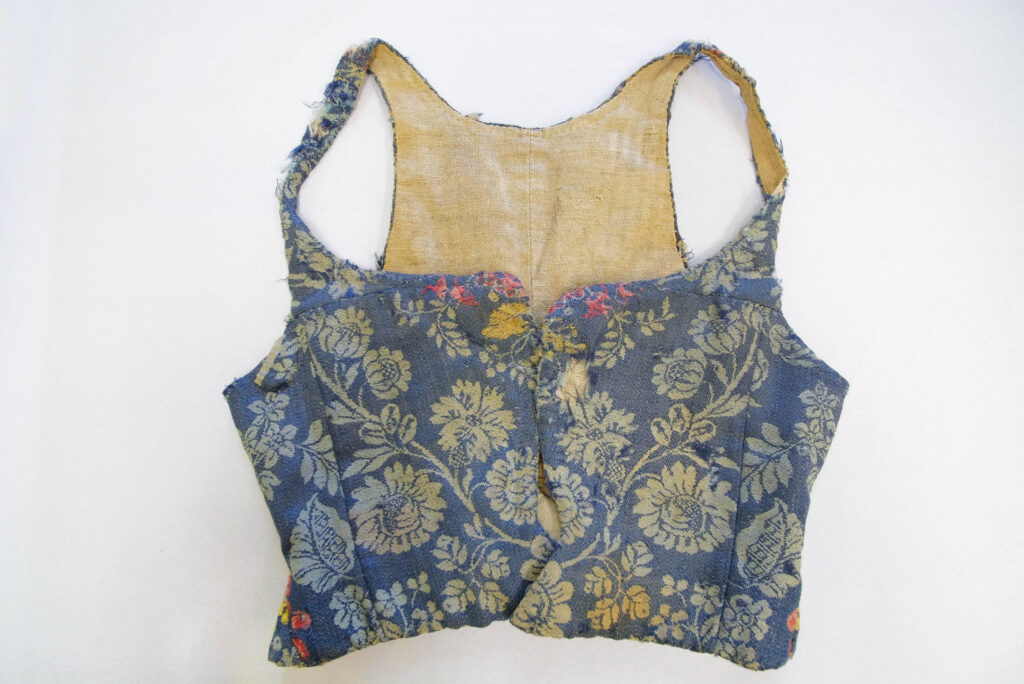
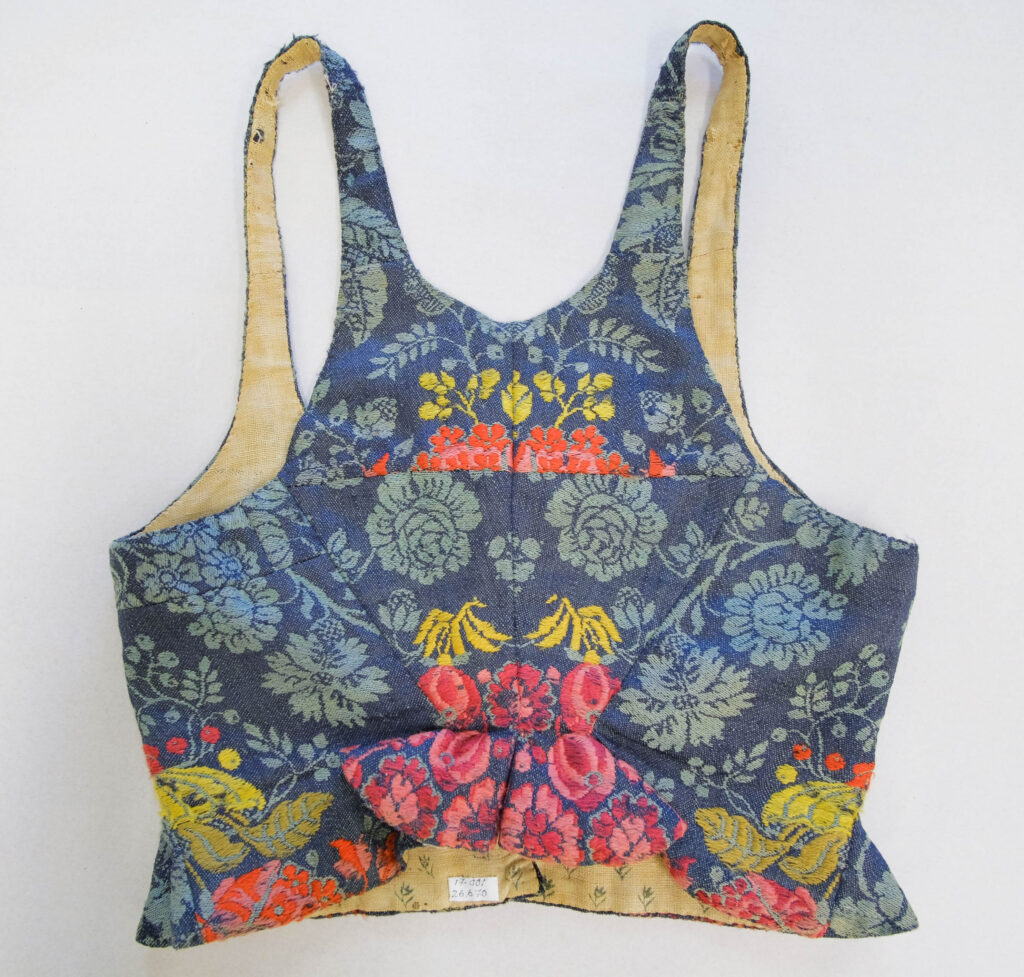
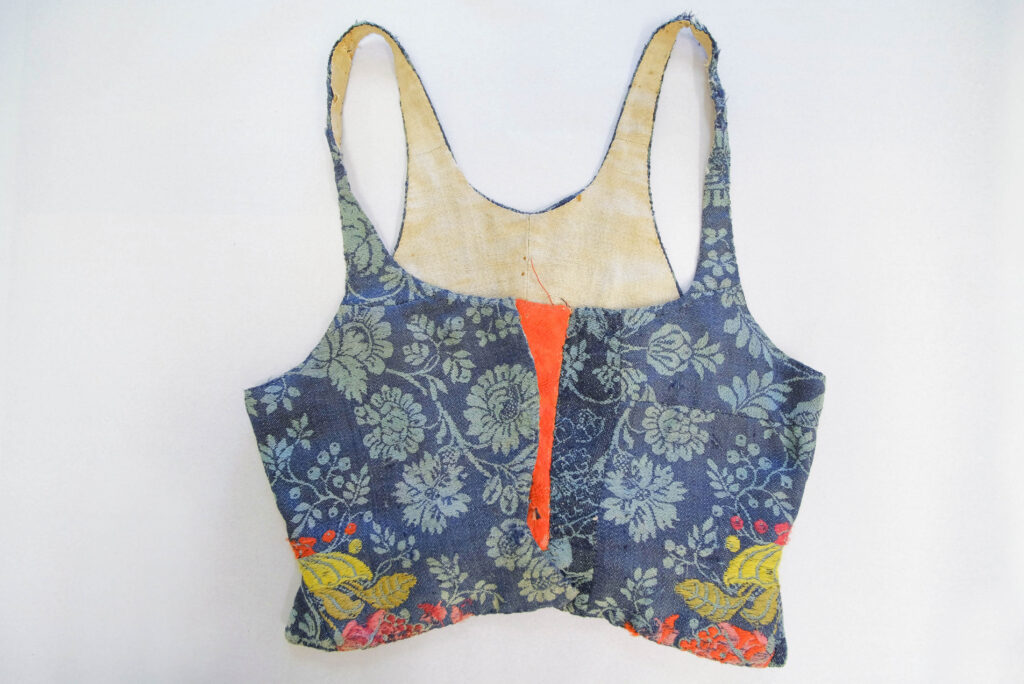
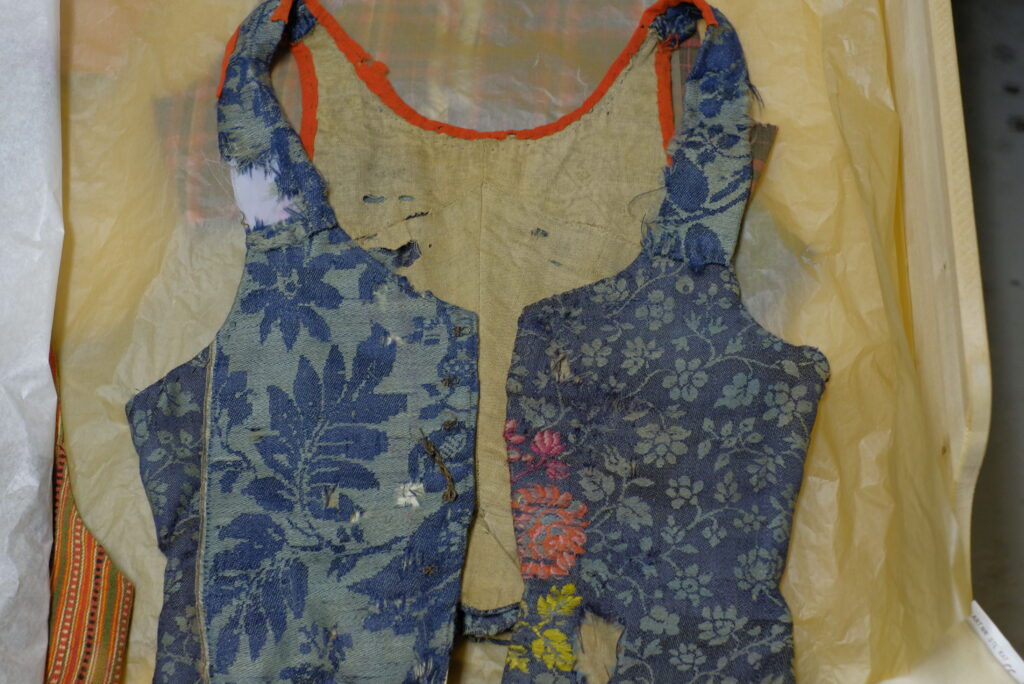
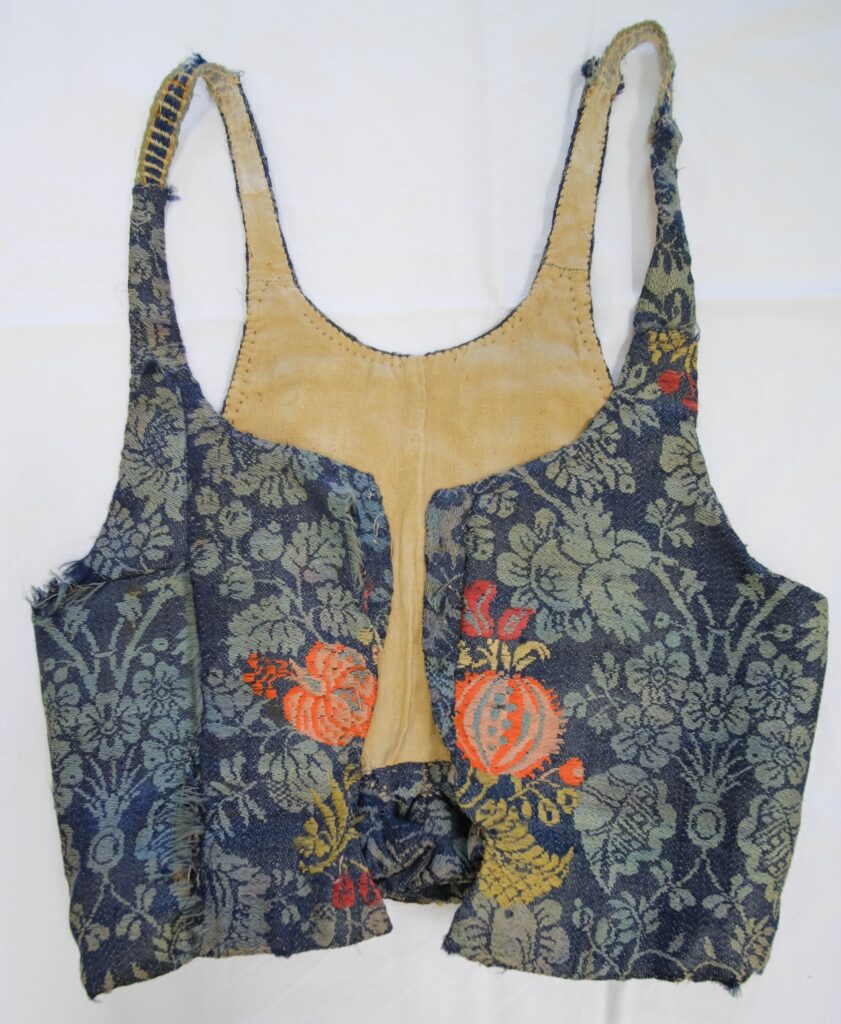
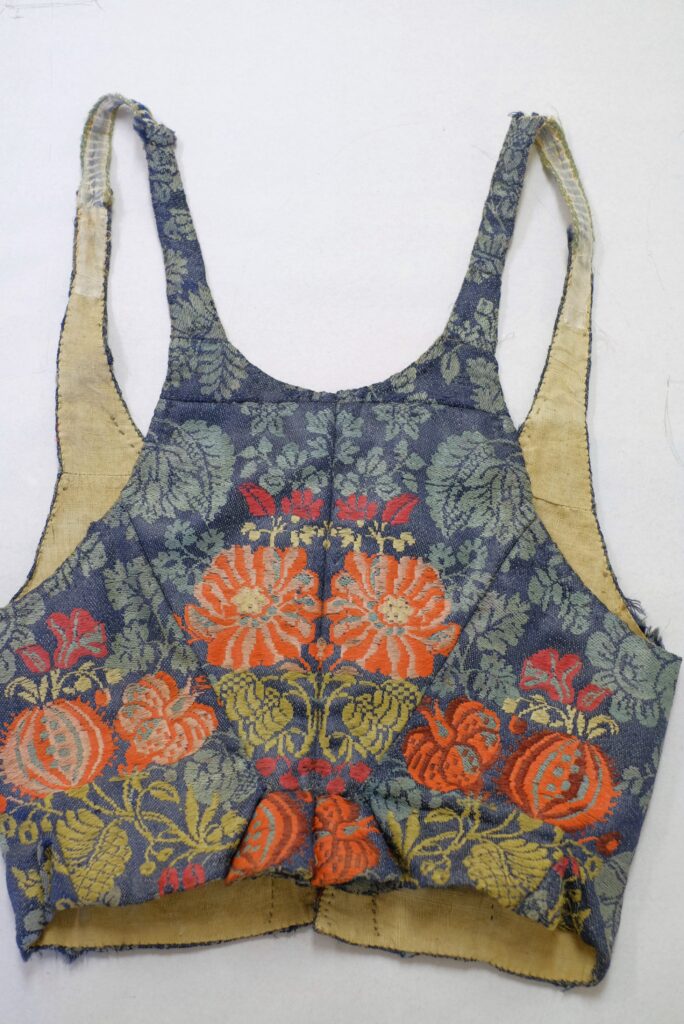
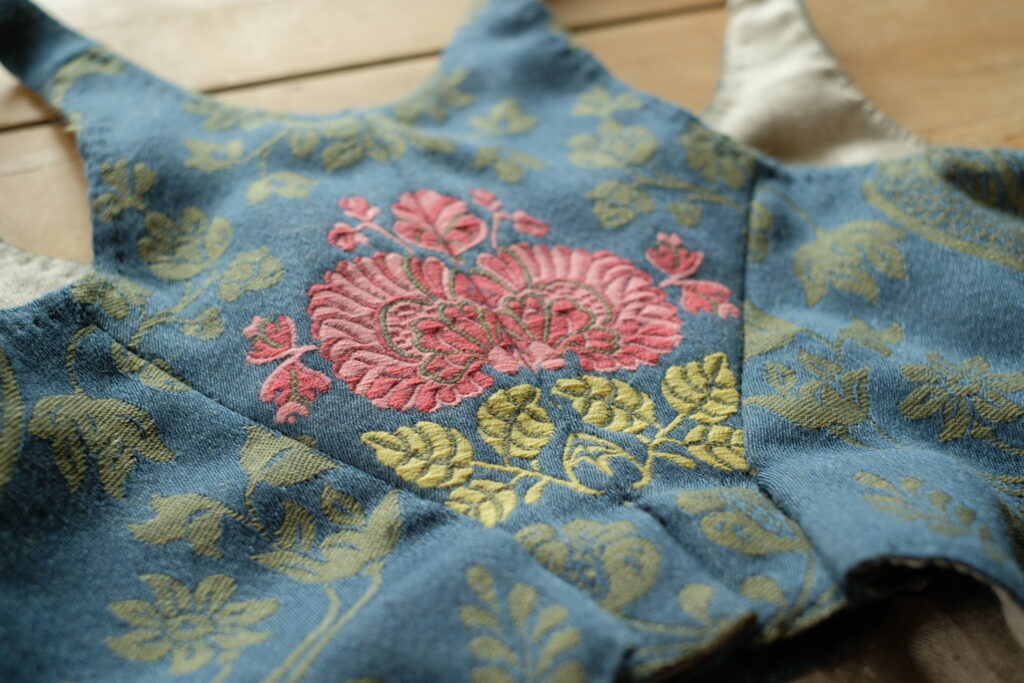
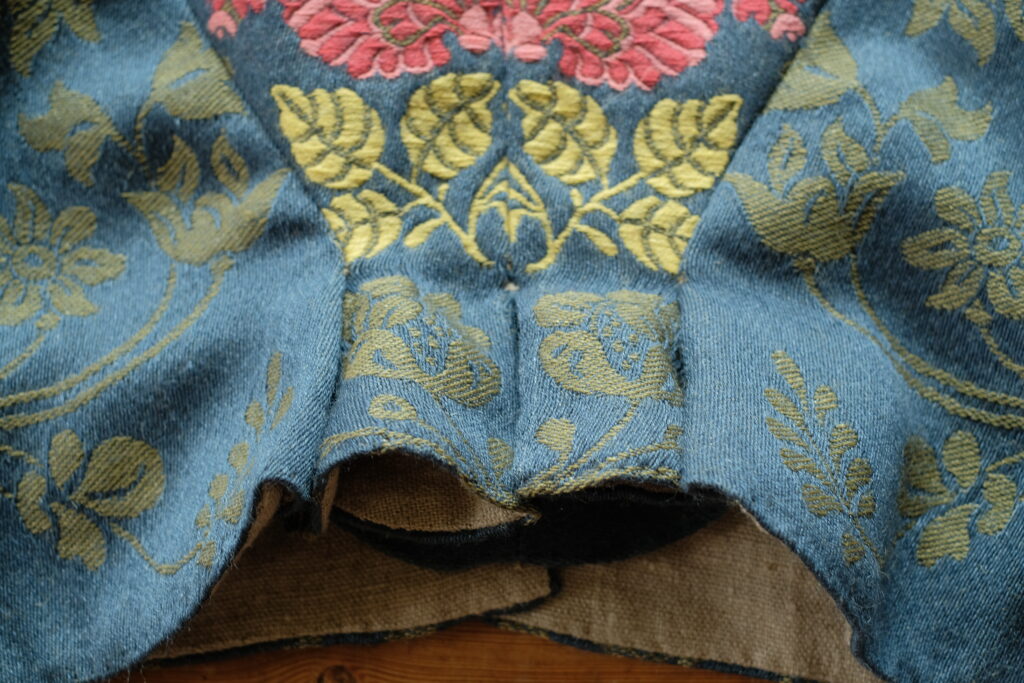
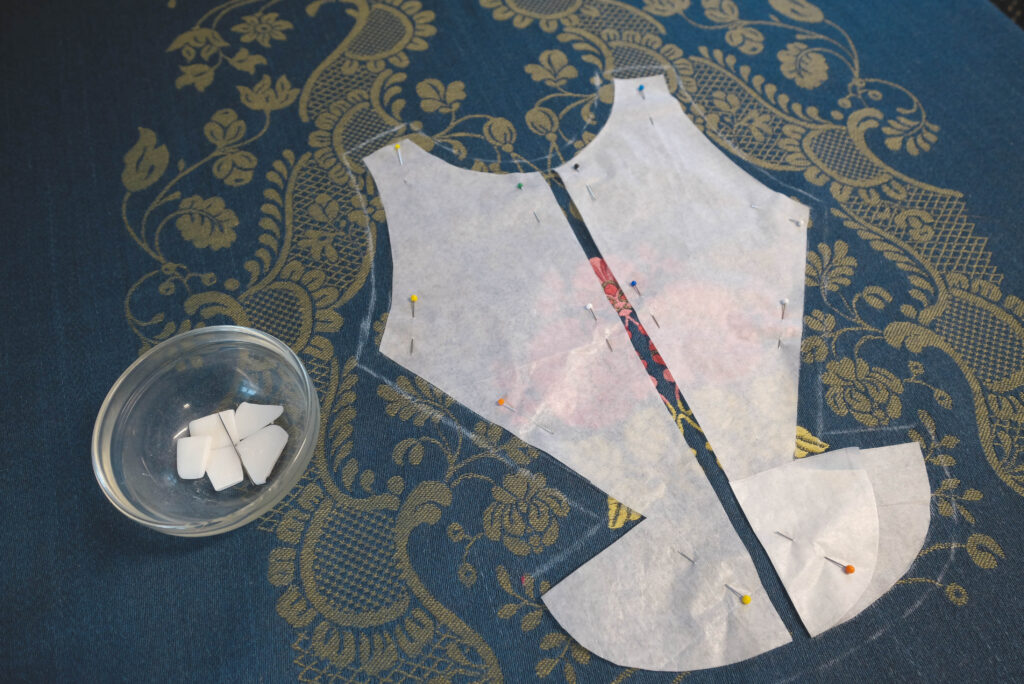
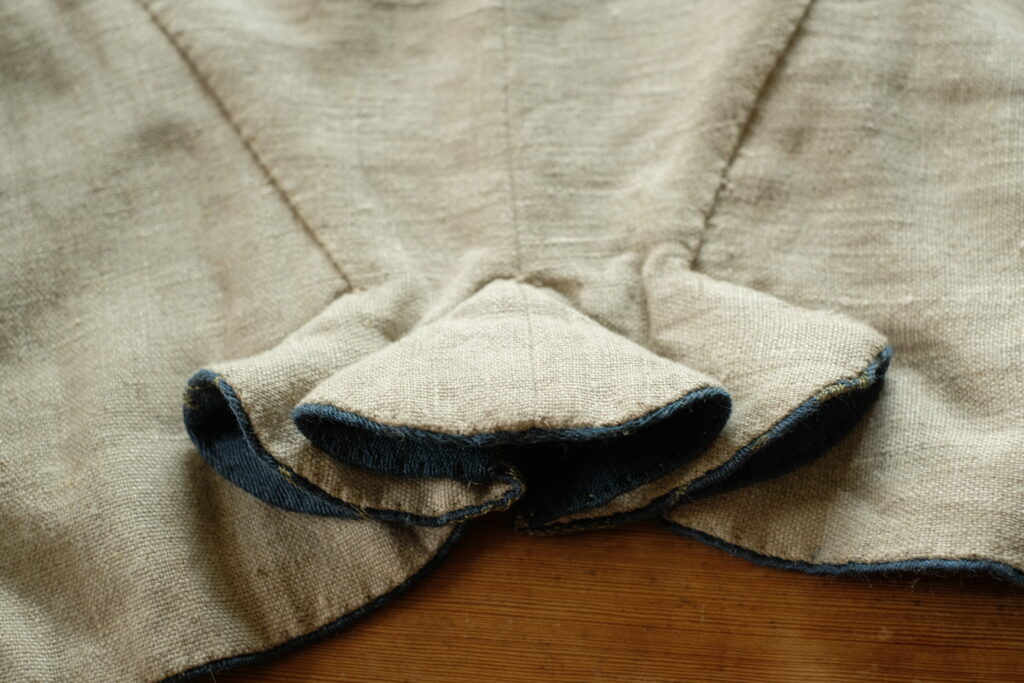
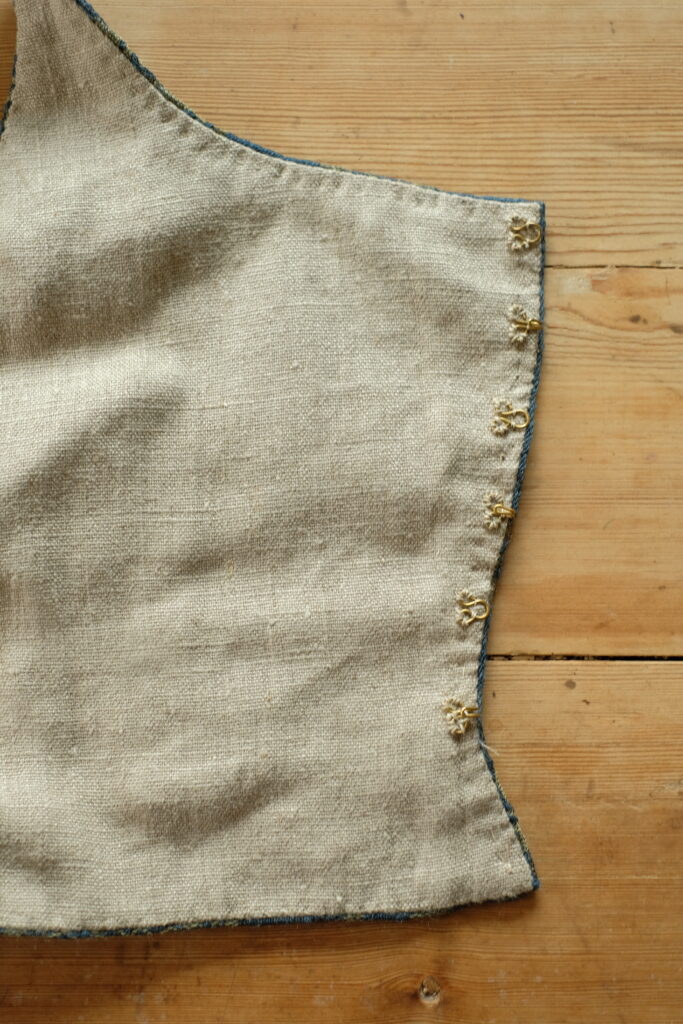
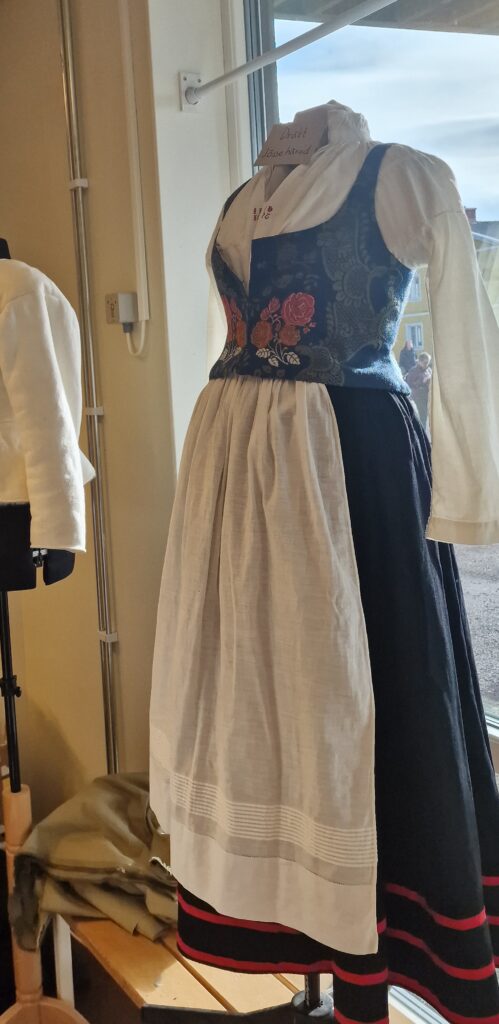
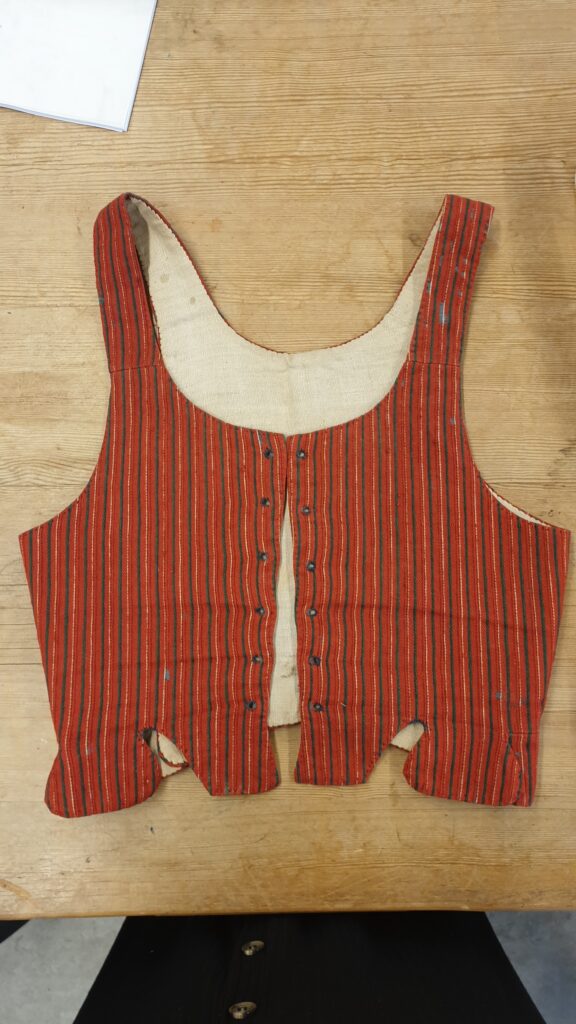
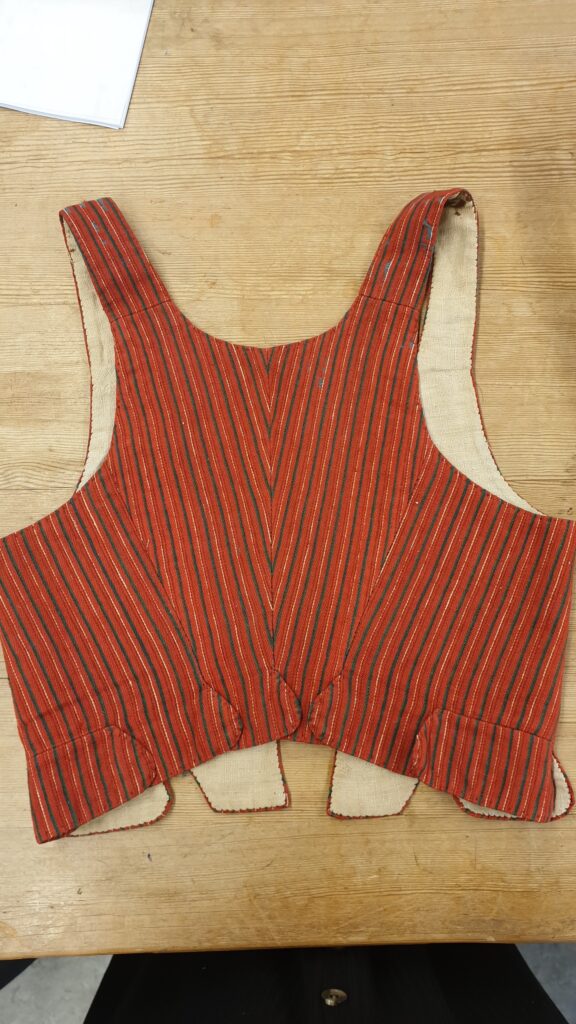
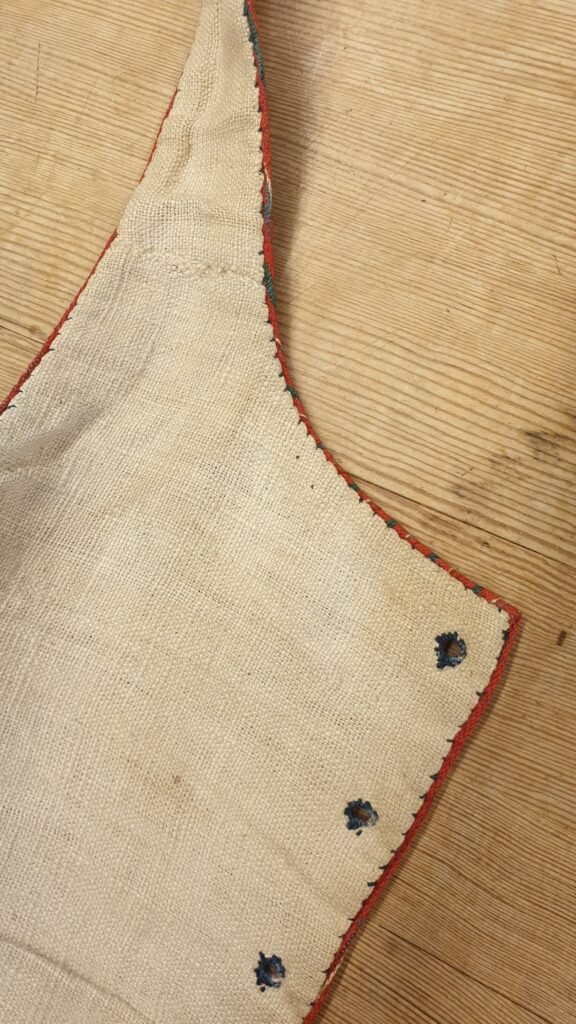
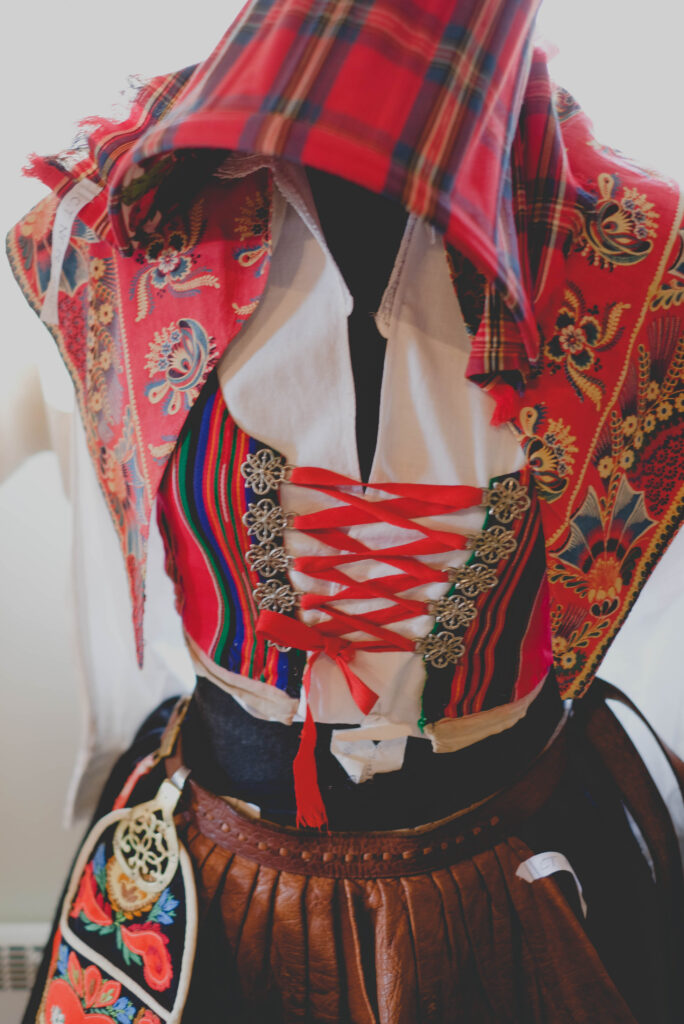
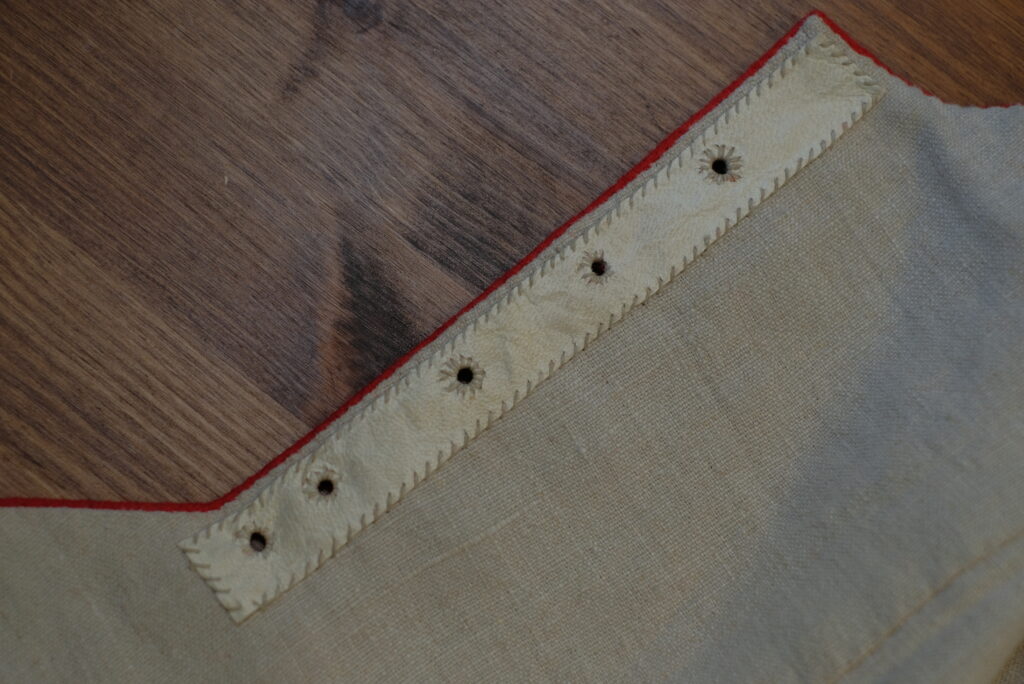
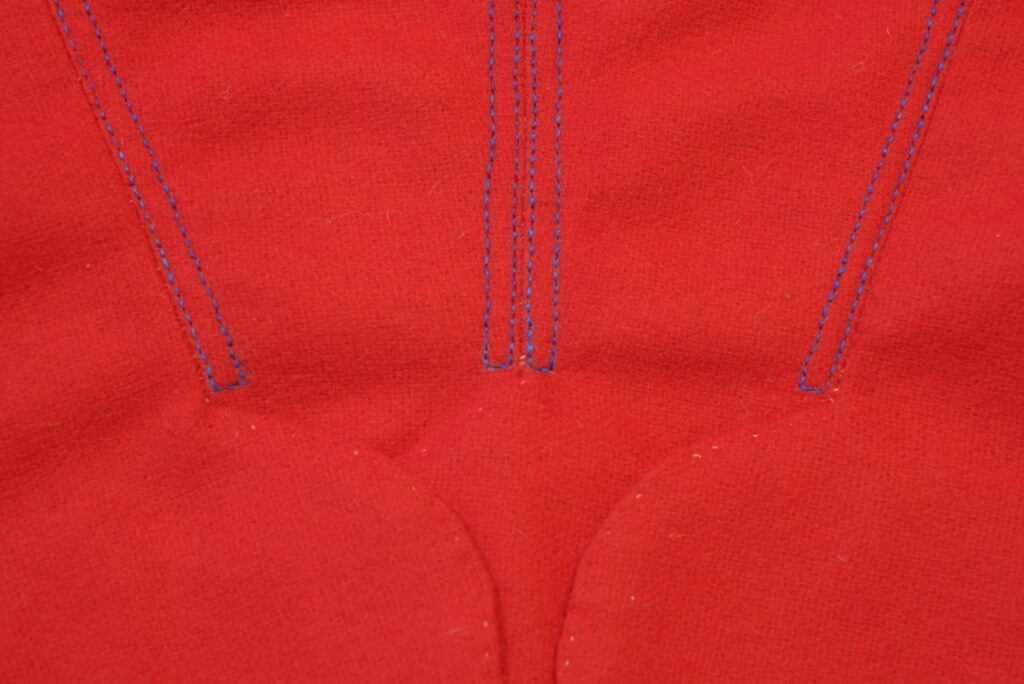
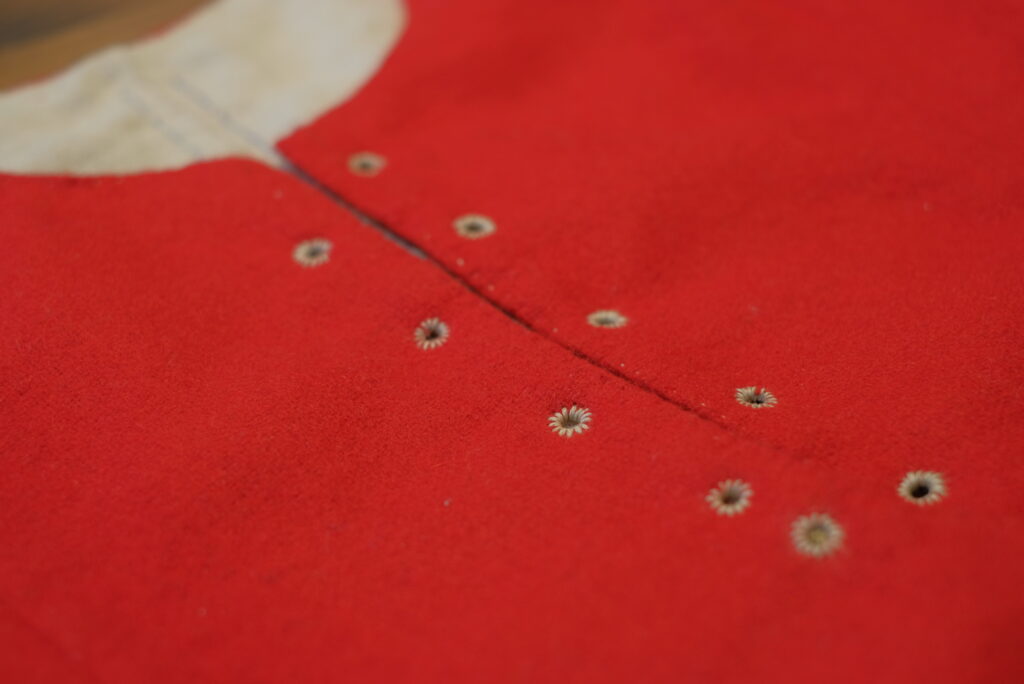
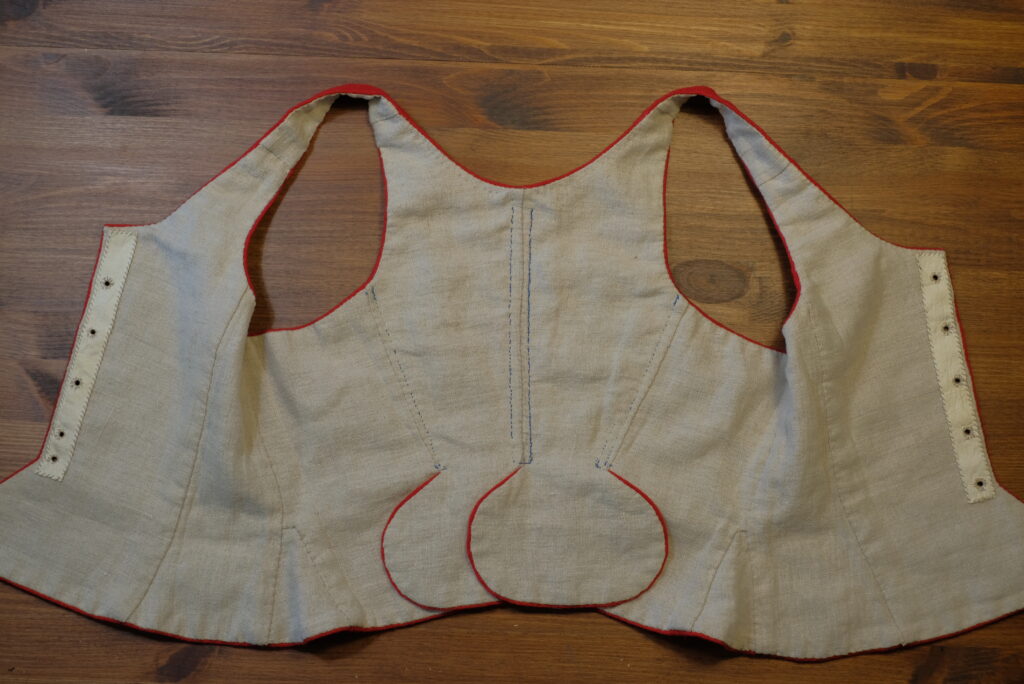
Blå blommiga livstycken från Jösse hd.


-
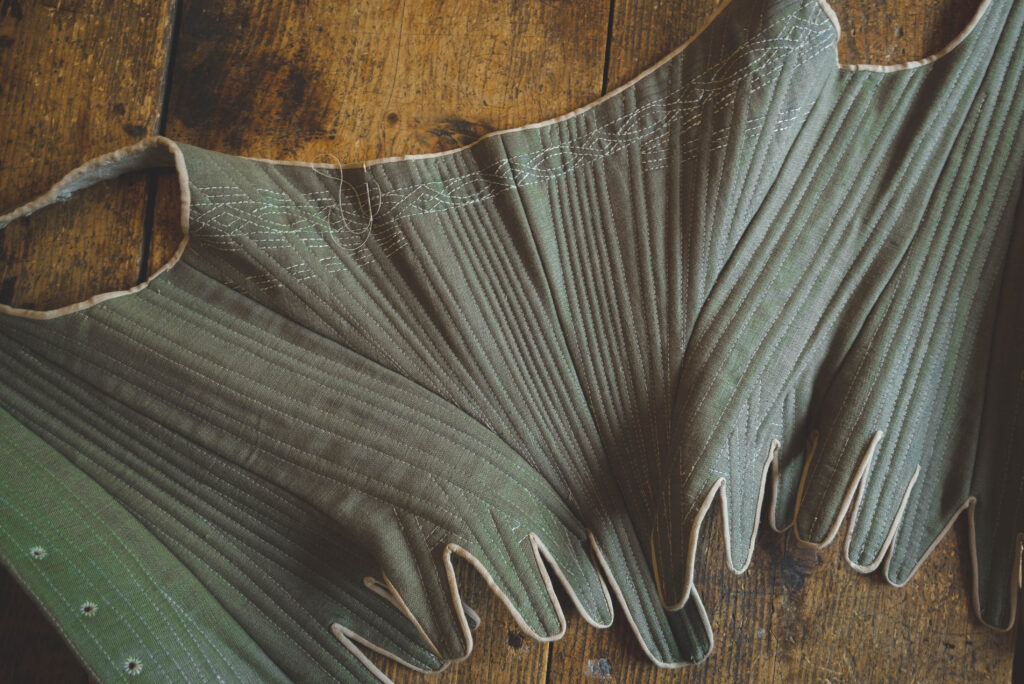
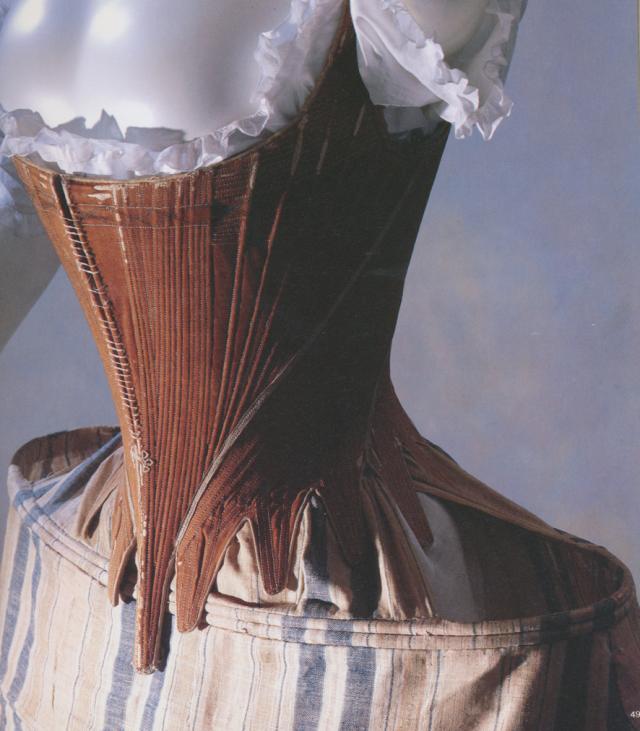
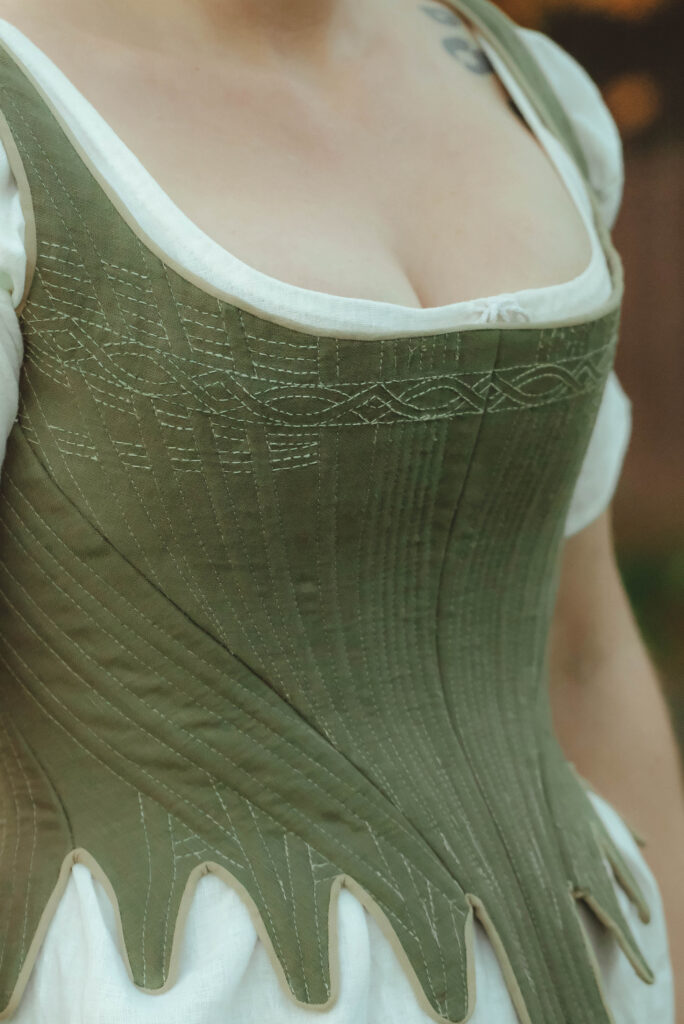
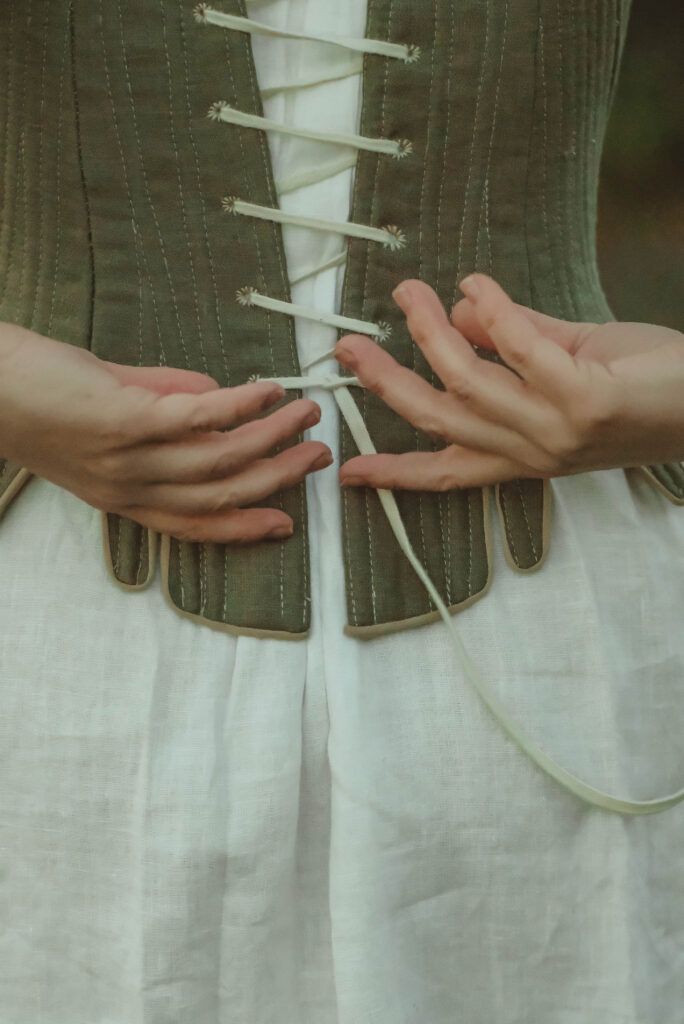
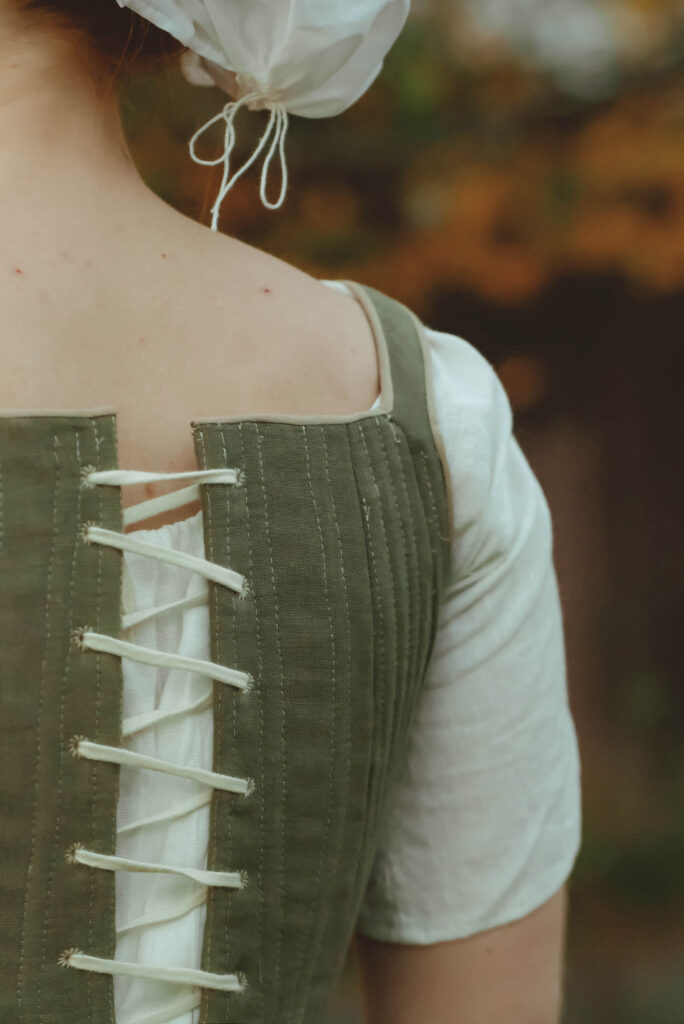
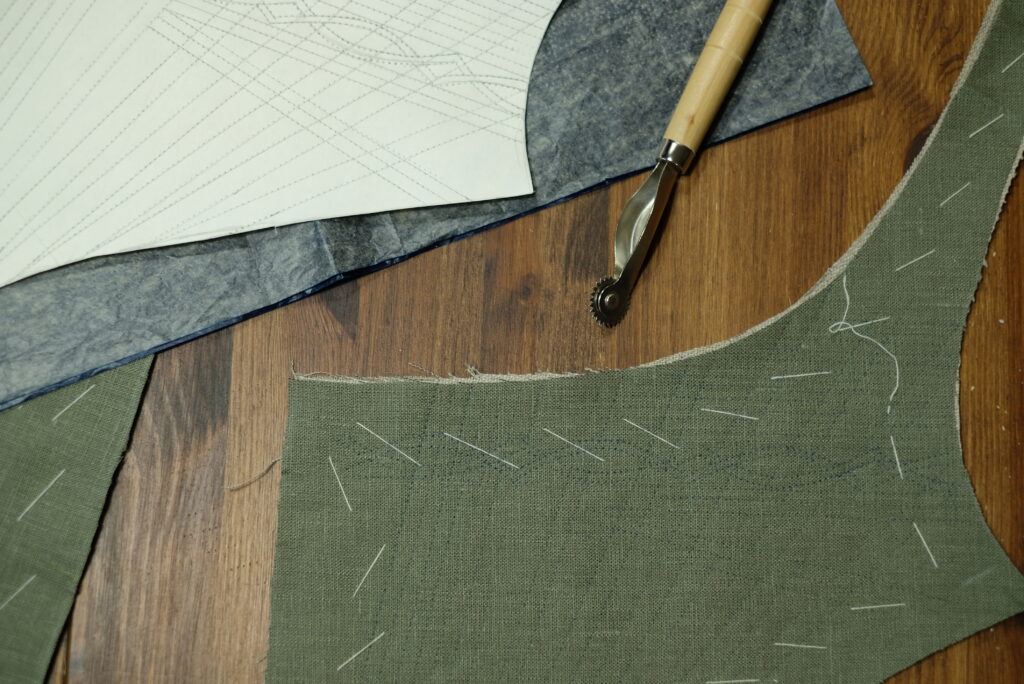
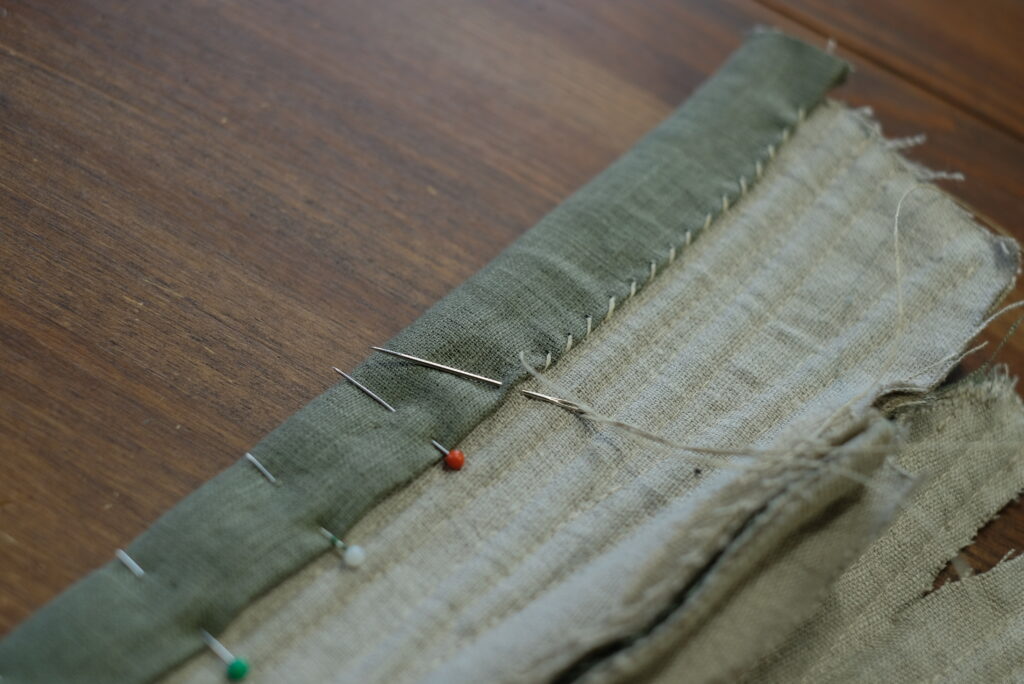
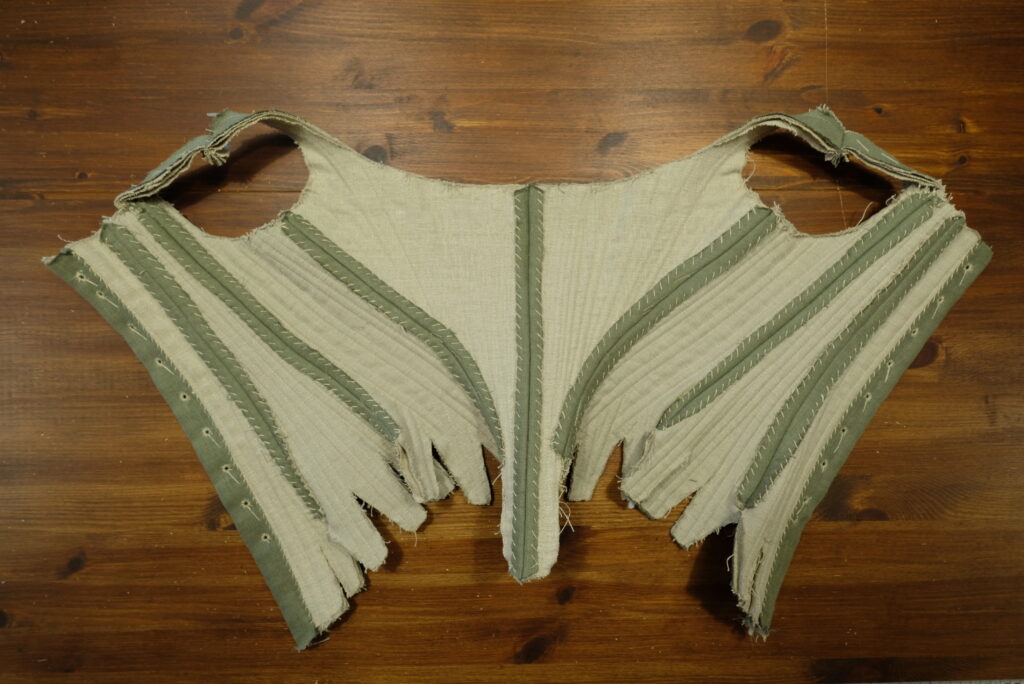
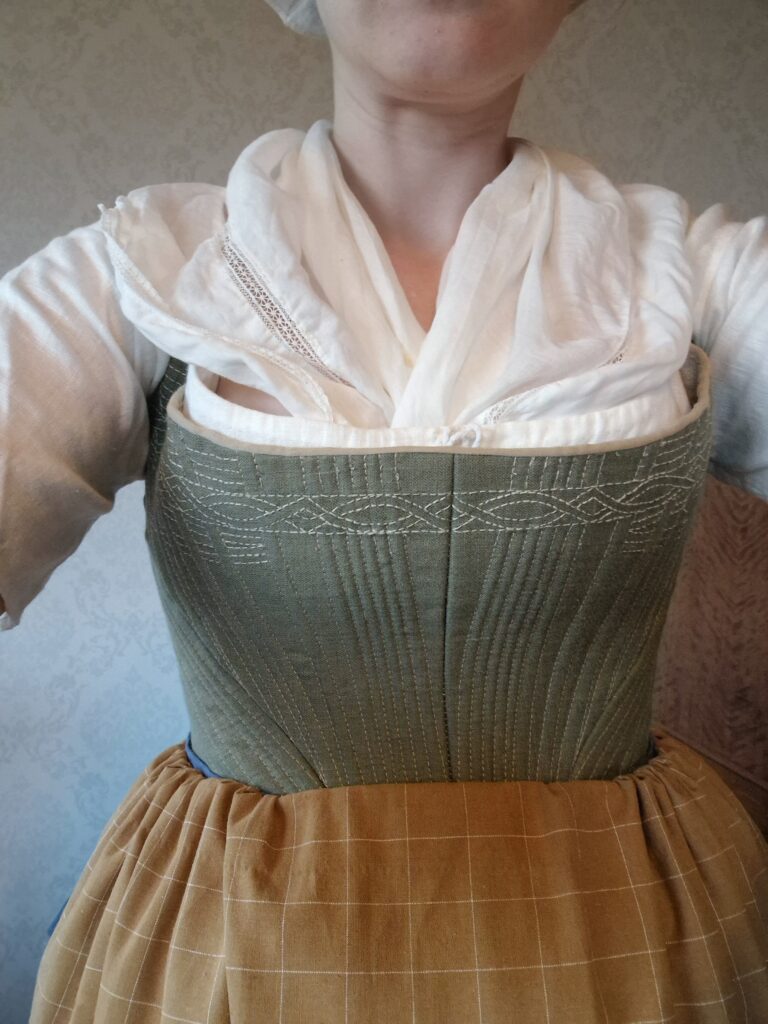
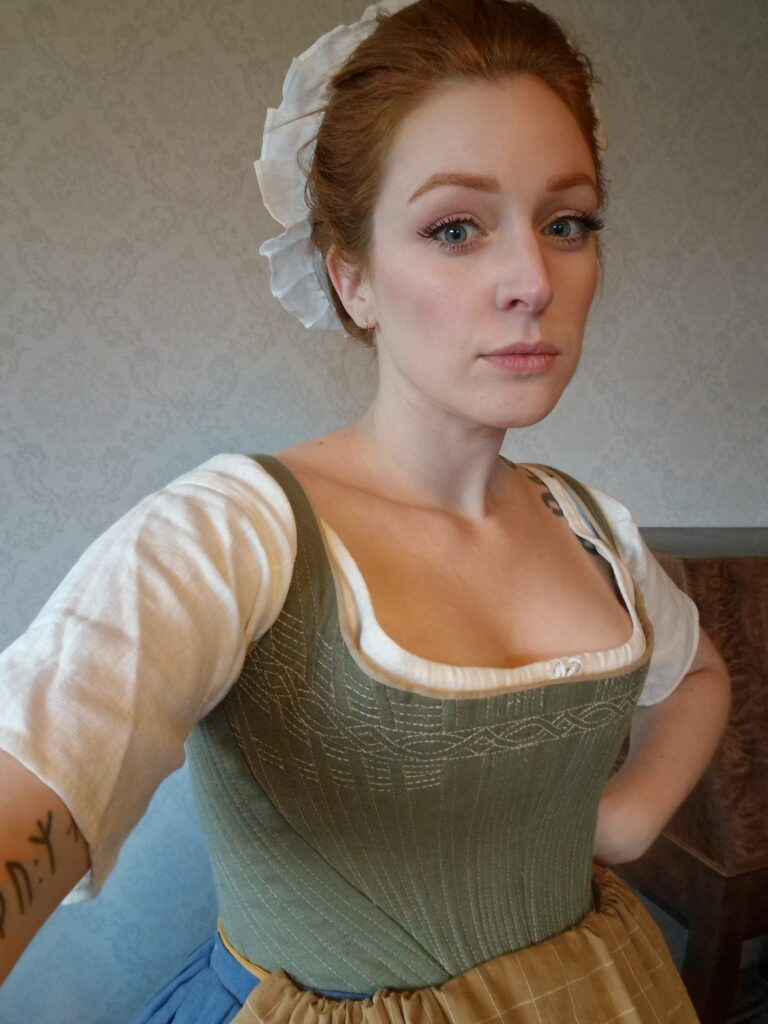
Green 18th century Kyoto stays

-
New blogg site
Hello! Im currently moving my blogg to this new site. Some pictures may be a bit blurry, but Im trying to fix this and add all the posts 🙂 So more content is coming!
-
Livstycke sorunda
-
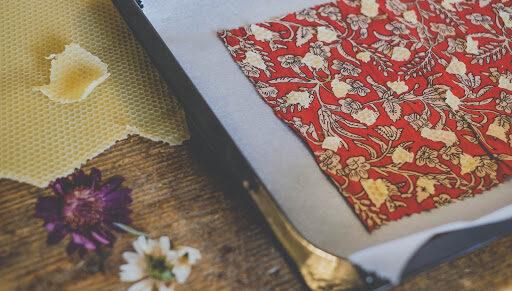
Plantdye with akorns
The ground outside is currently covered in akorns so I couldnt resist trying to plant dye with them. I wasnt sure what color I would get, maybe brown? I collected a bucket of akorns that I thought would last for a week or so but they dont, they mold so I also collected a bucket of new green ones to dye with both and compare.

 I did not use any mordant since I didnt have any home yet, and I was very eager to try. Im happy it worked anyway!Small pot- Brown odl akorns + tabby wool

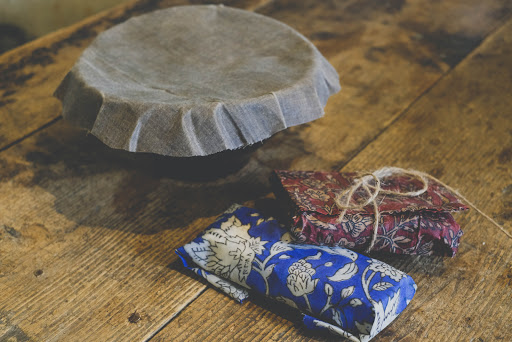
What a result! 😀 I was soo exited to see the fabric in the big pot turn brownish pink and when dry a nice shade of vintage pink. In the picture above from left:
1. Green akorns-Vintage pink on diamond twill
2. Brown old akorns- Light brown on tabby wool
3. Green akorns- Vintage pink (slightly more brown) on tabby wool


Afterwards I got the idea that I also wanted to test on a medium gray fabric so I throwed a piece in for a while more but it only got a bit darker on the brown gray side. Now im eager to try with mordant and experiment with other ingredients! 😀
-
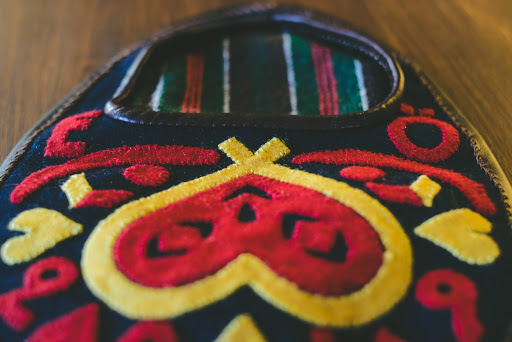
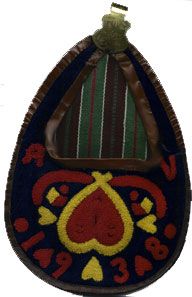
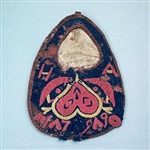
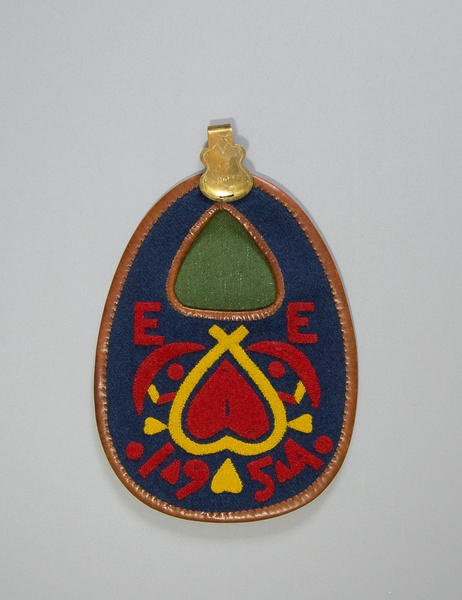
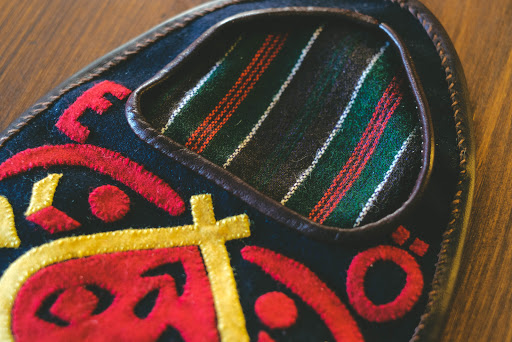
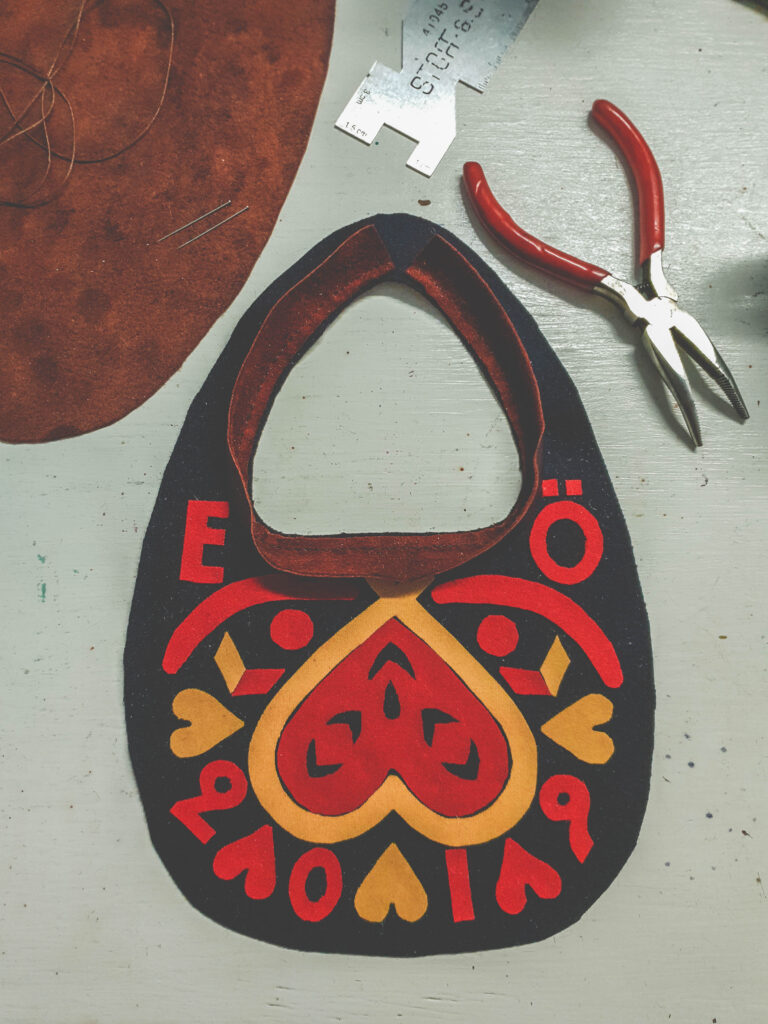
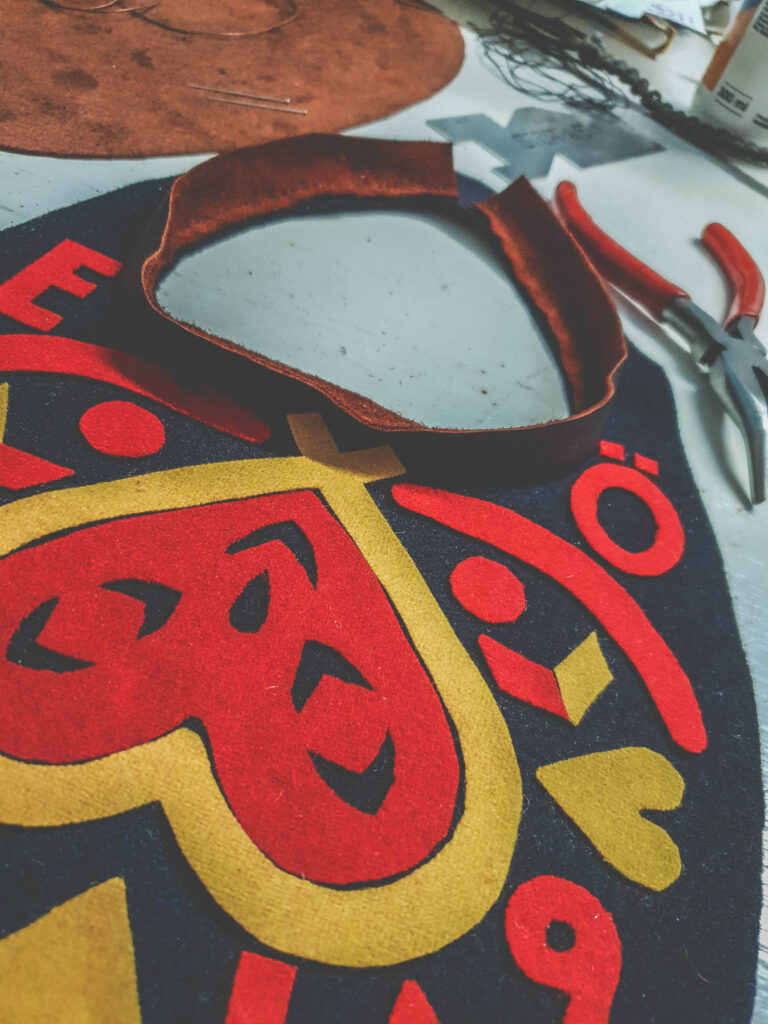
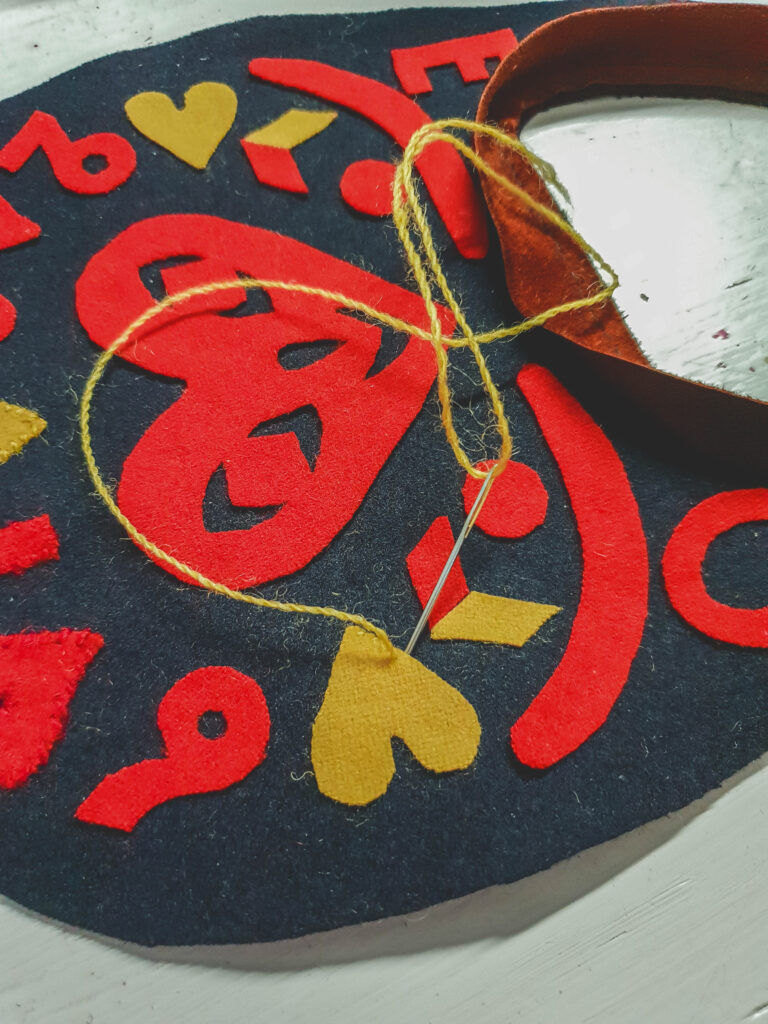
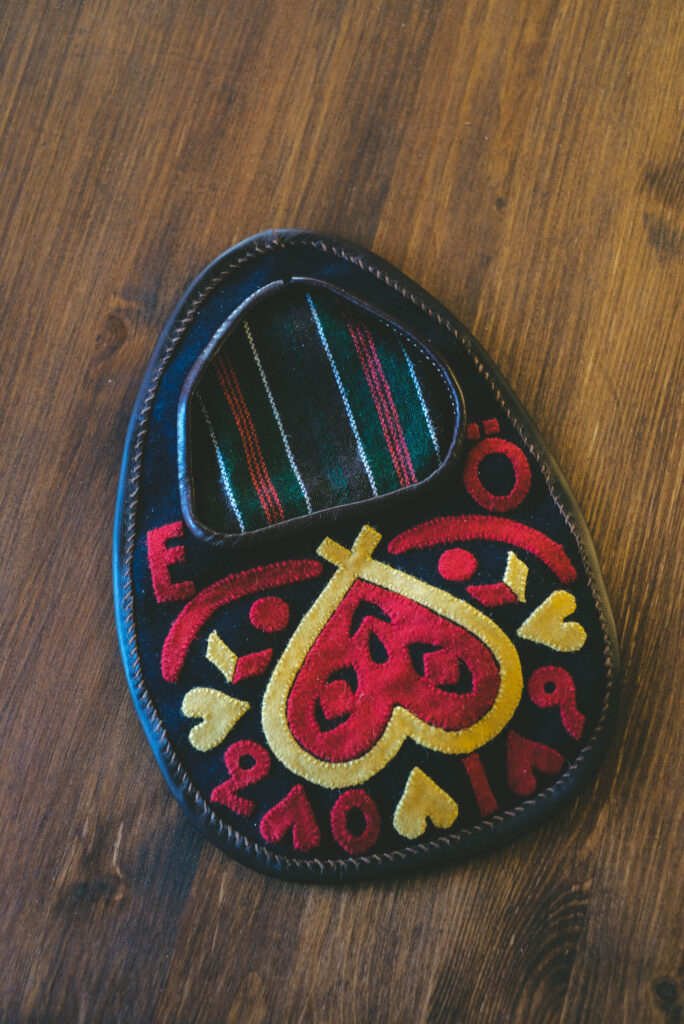
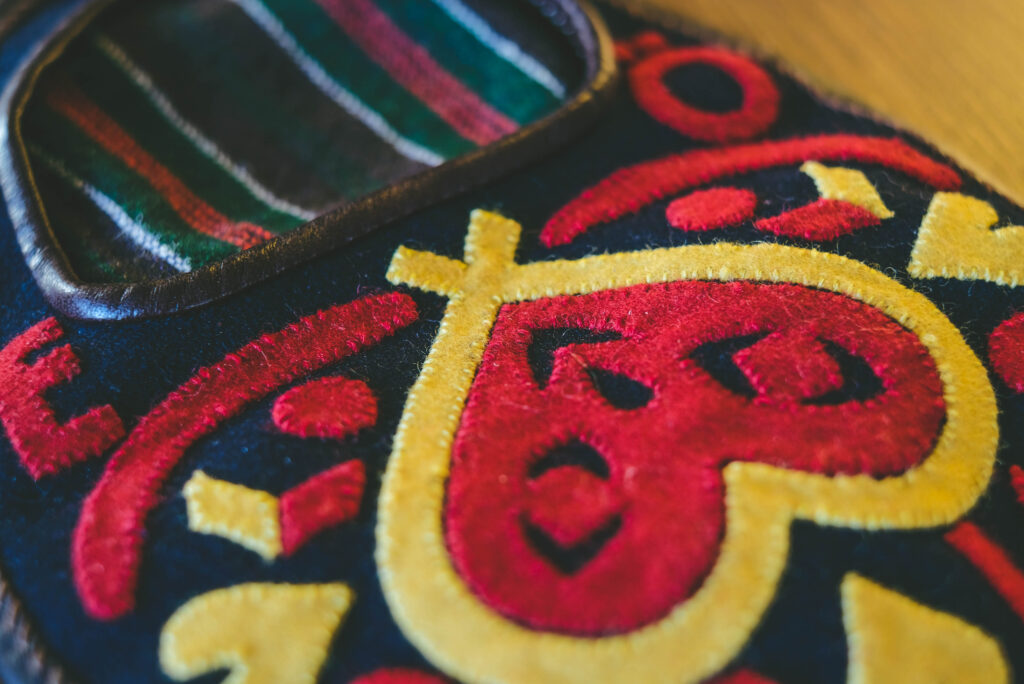
Kjolsäck stigsjö ångermanland
-
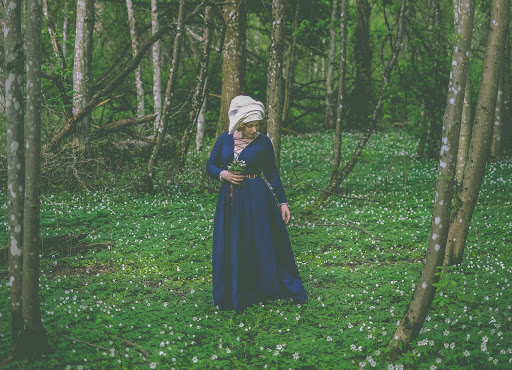
Vacation! Dala-floda


-
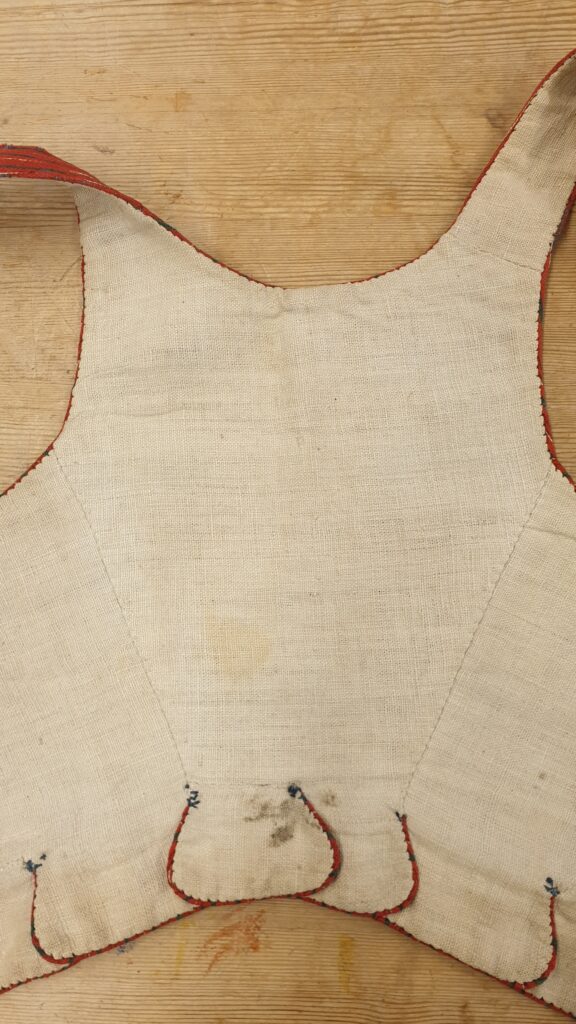
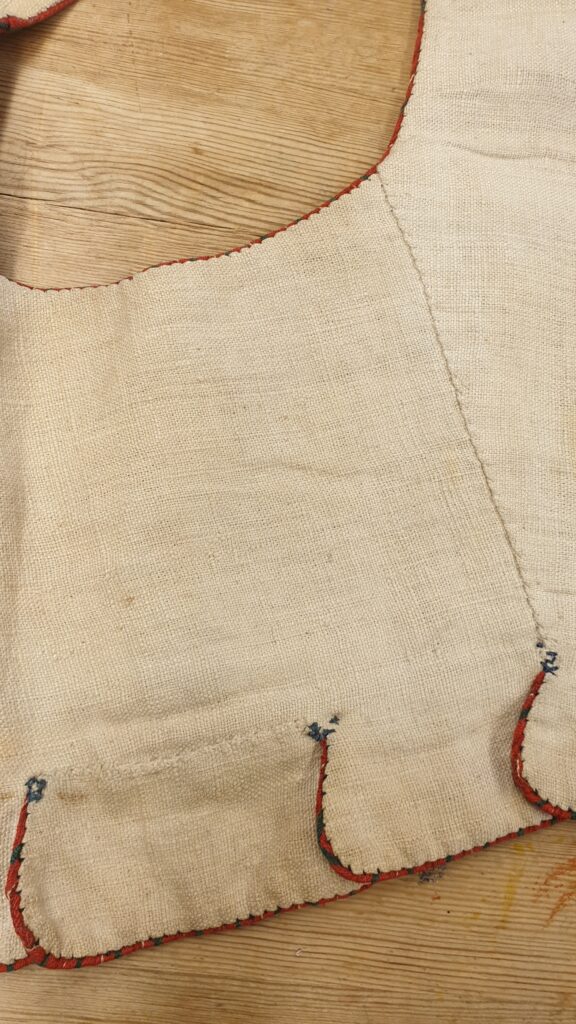
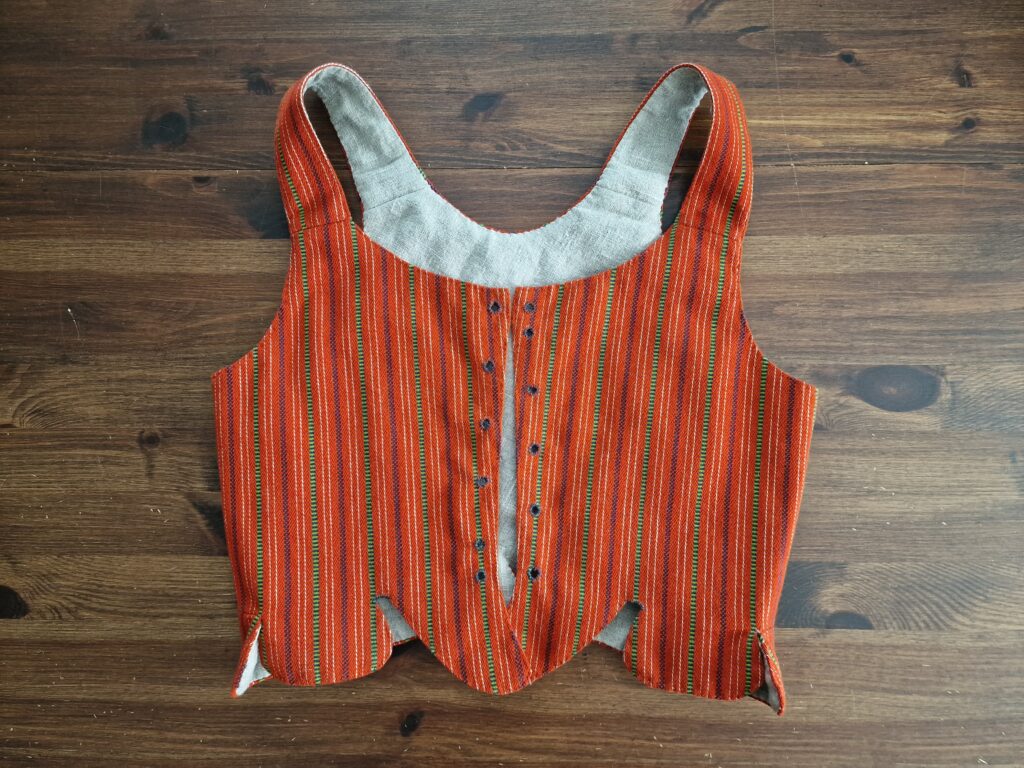
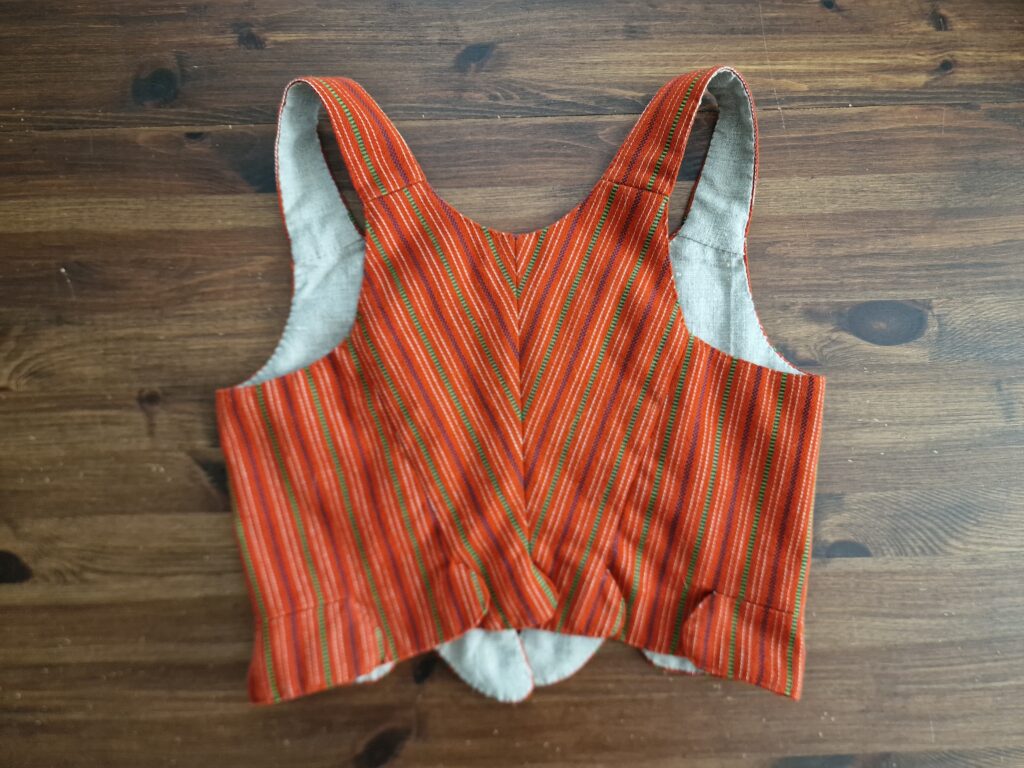
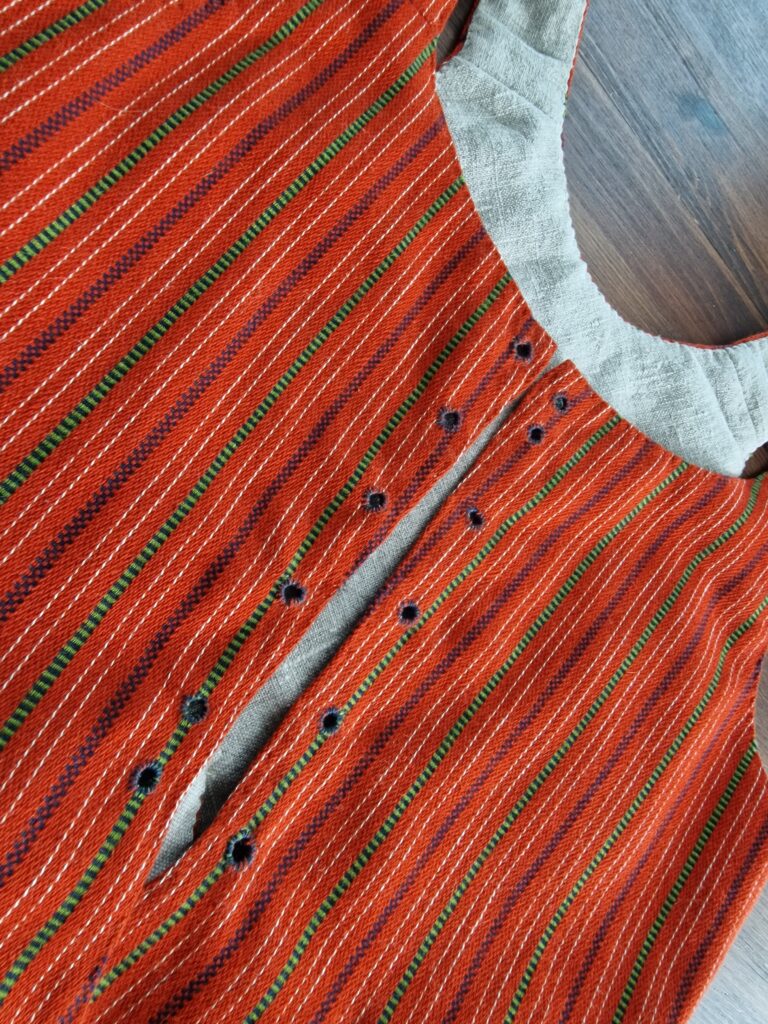
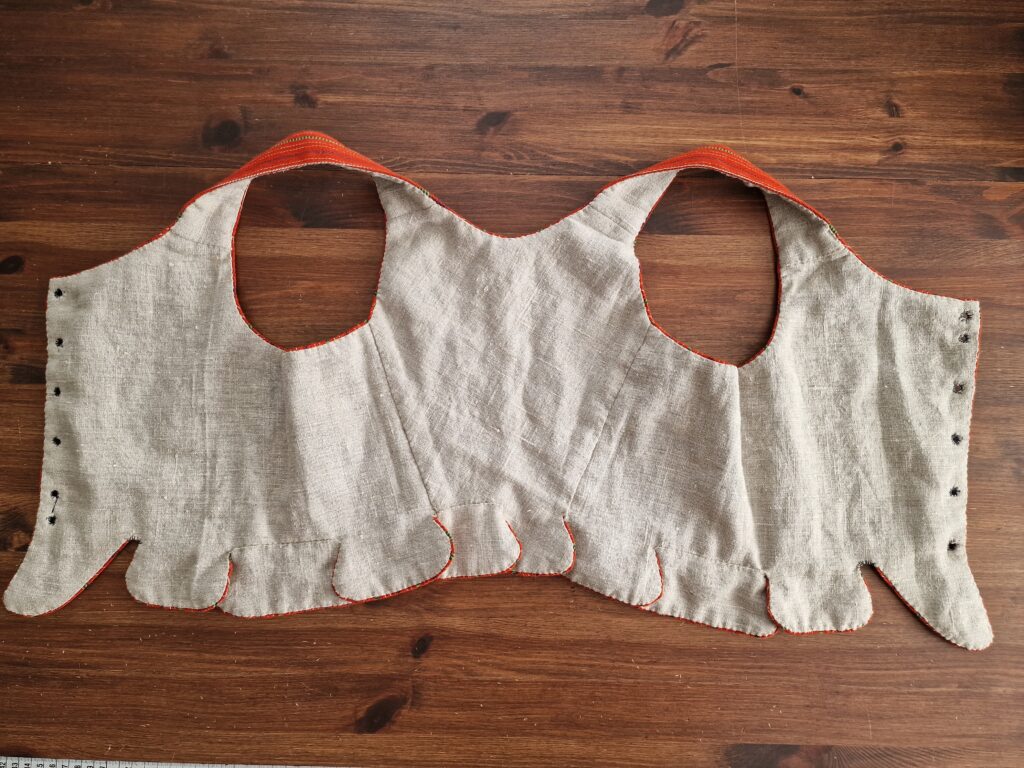
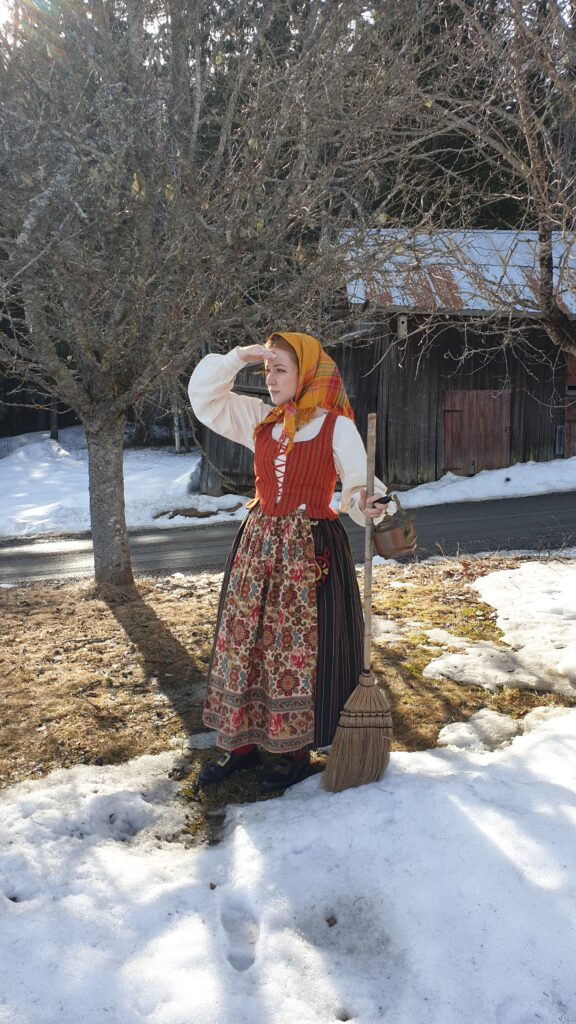
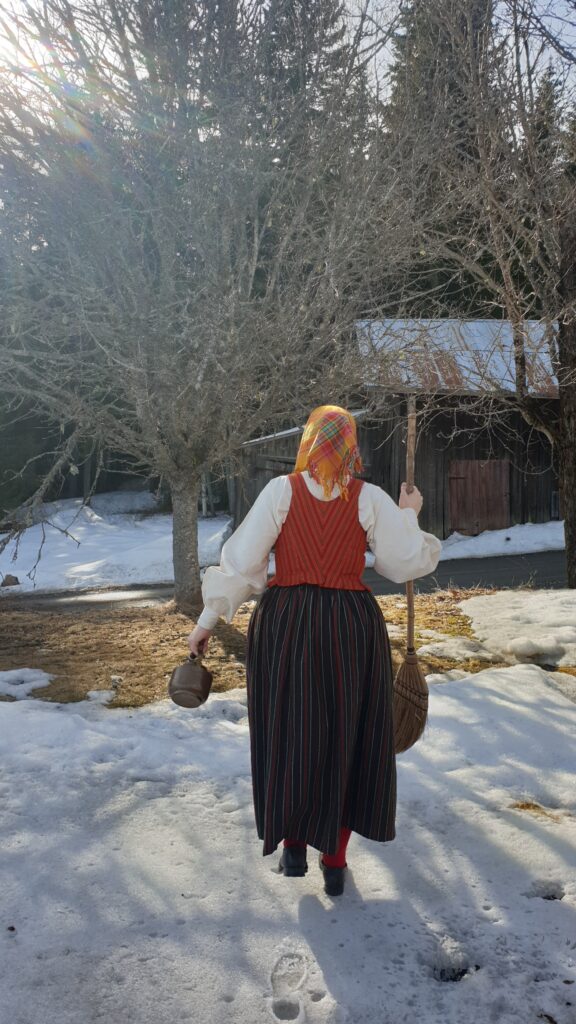
Livstycke stigsjö
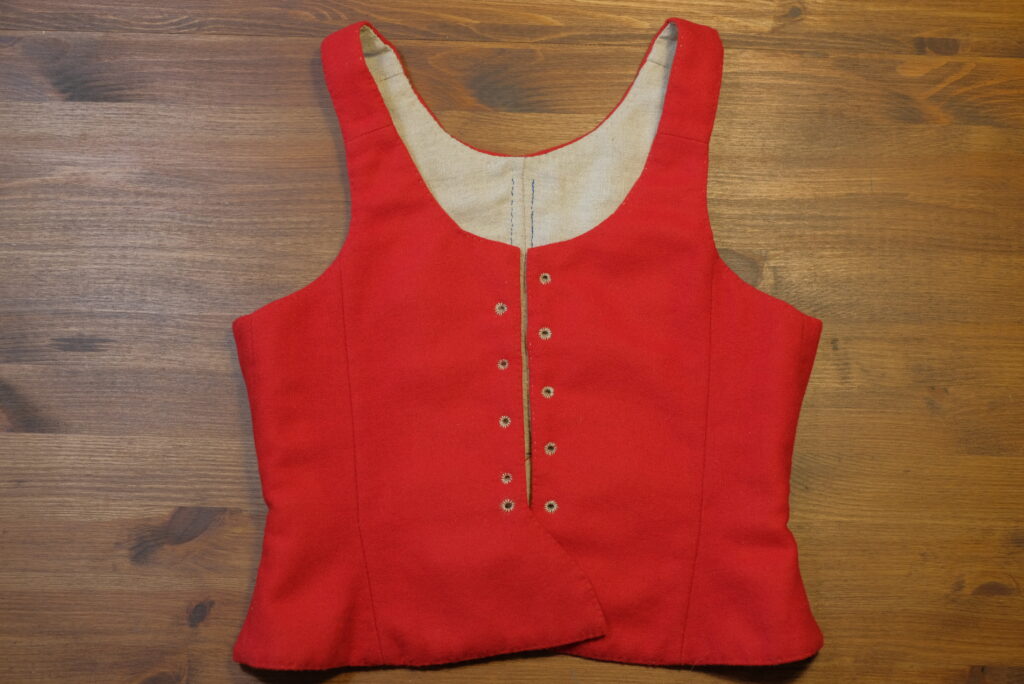
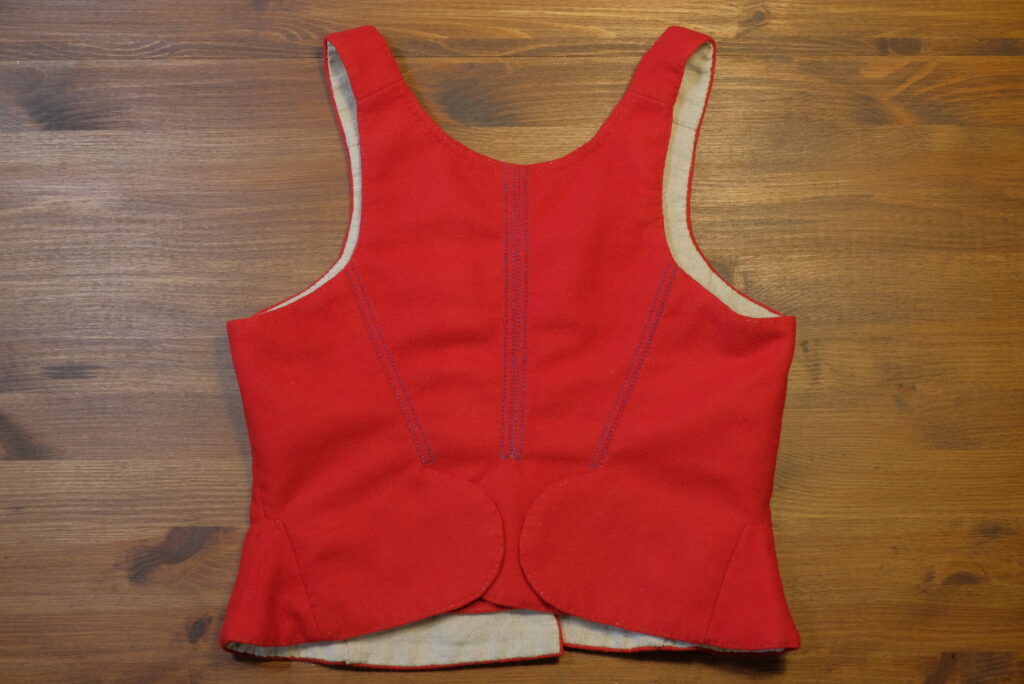
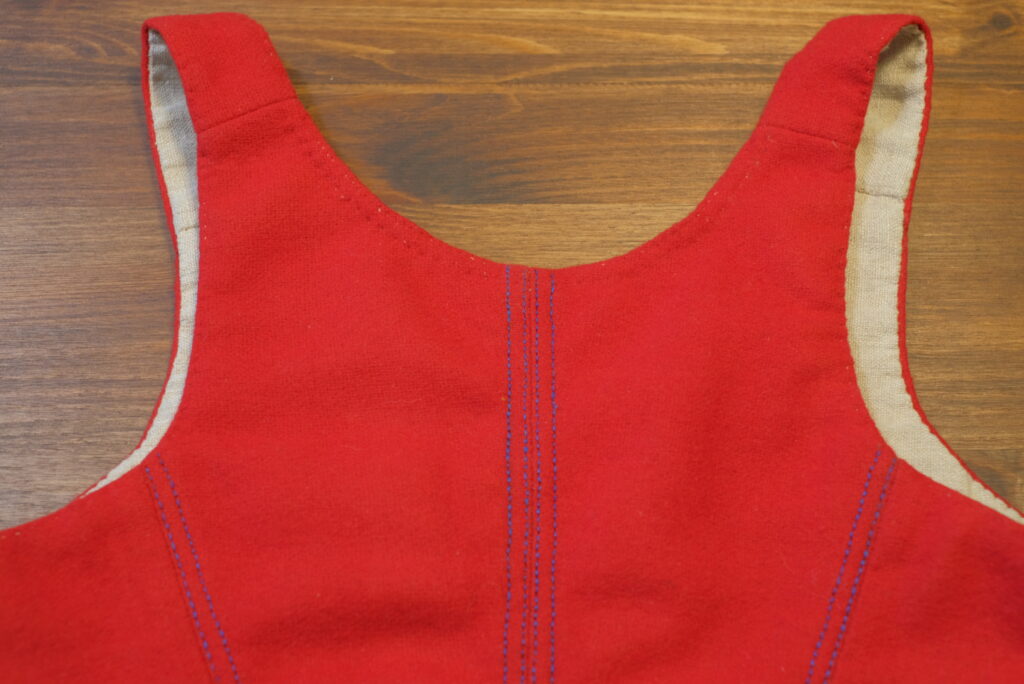
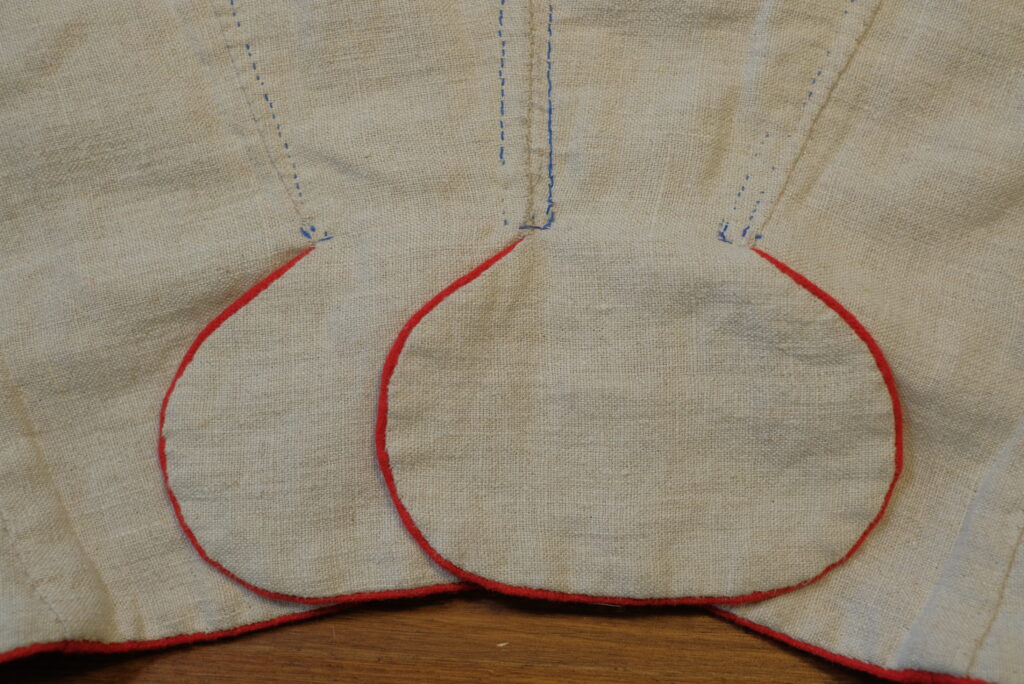
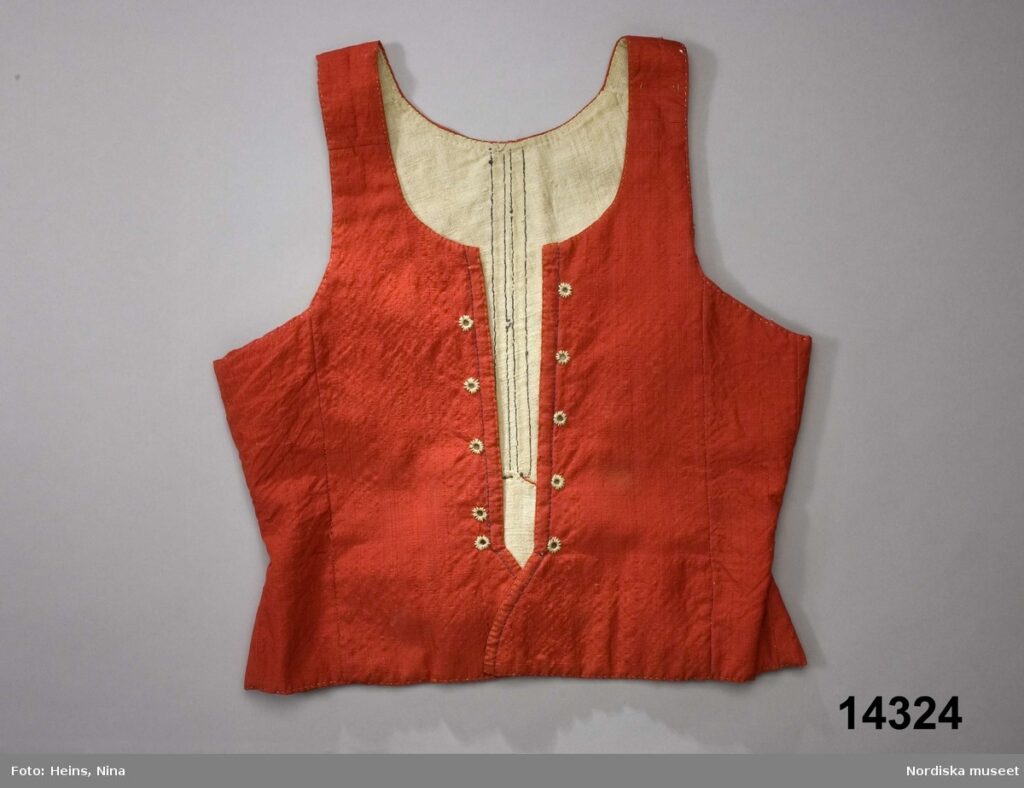
Orginallivstycket från Nordiska museet -
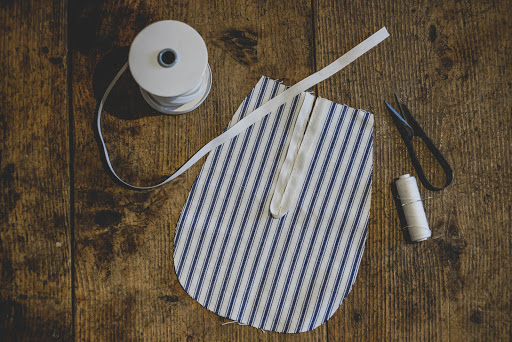
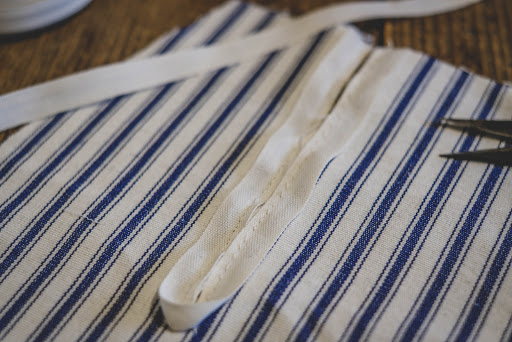
18th century pockets
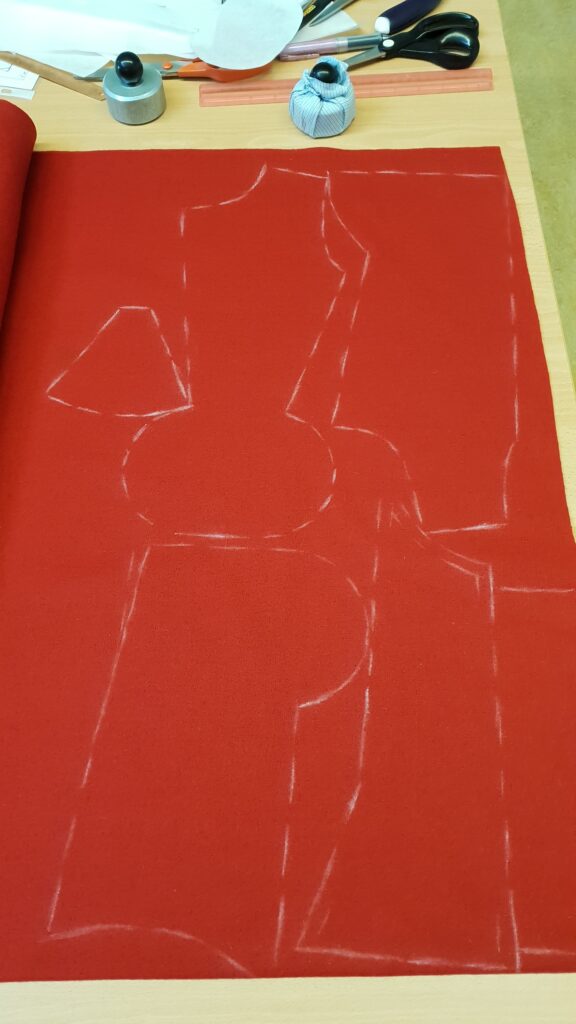
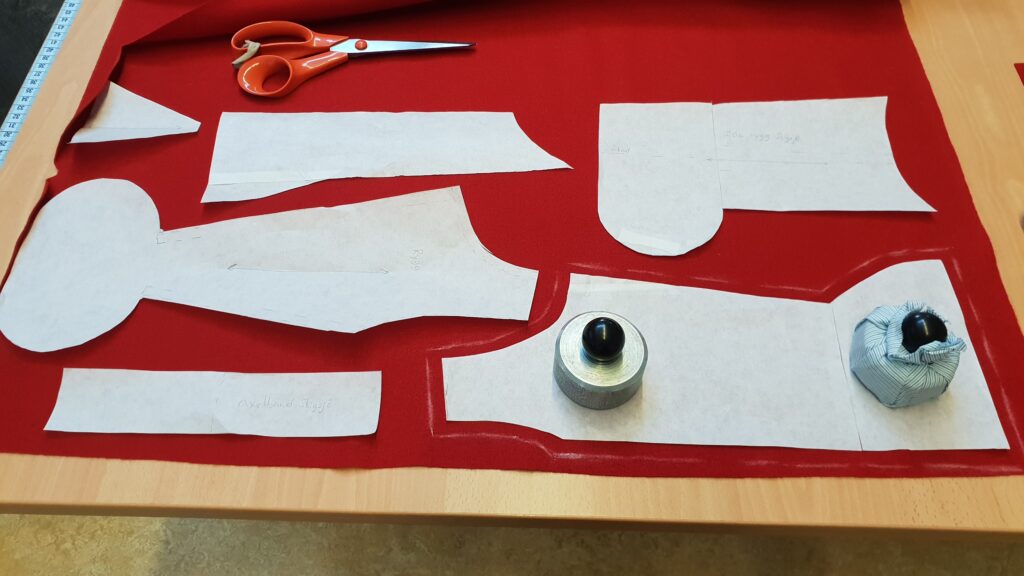
18th century pocketsI have lost my old embroidered pockets so I decided to make a new pair of some scrap fabric.A simple tutorial: 1. Draw the pockets on a paper, use the stencil to cut 4 pieces of fabric.2. Cut the opening on 2 of the pieces. Use a narrow ribbon to make the edge, I used 12mm cotton ribbon. Sew the ribbon from the outside, turn over and then sew the backside with whipstitch as you do on stays.

 3. Pin the fronts together with the backs and sew them together with the ribbon the same way you did before.4. Use a wider ribbon to make the waist band. Pin the pockets to the waistband while you have it on you so you can adjust the placing. Sew the ribbon onto the pockets from the front, turn itover and sew it with whipstiches again all the way to the edges.
 And done!

-
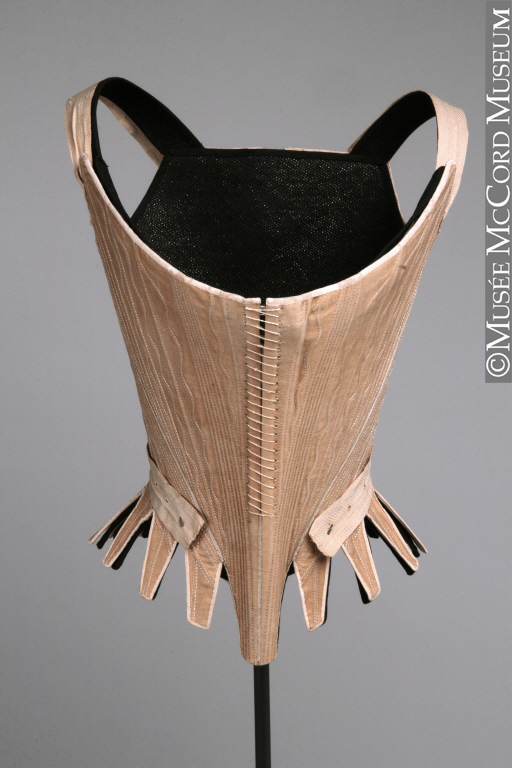
Pink 18th century stays- part 2
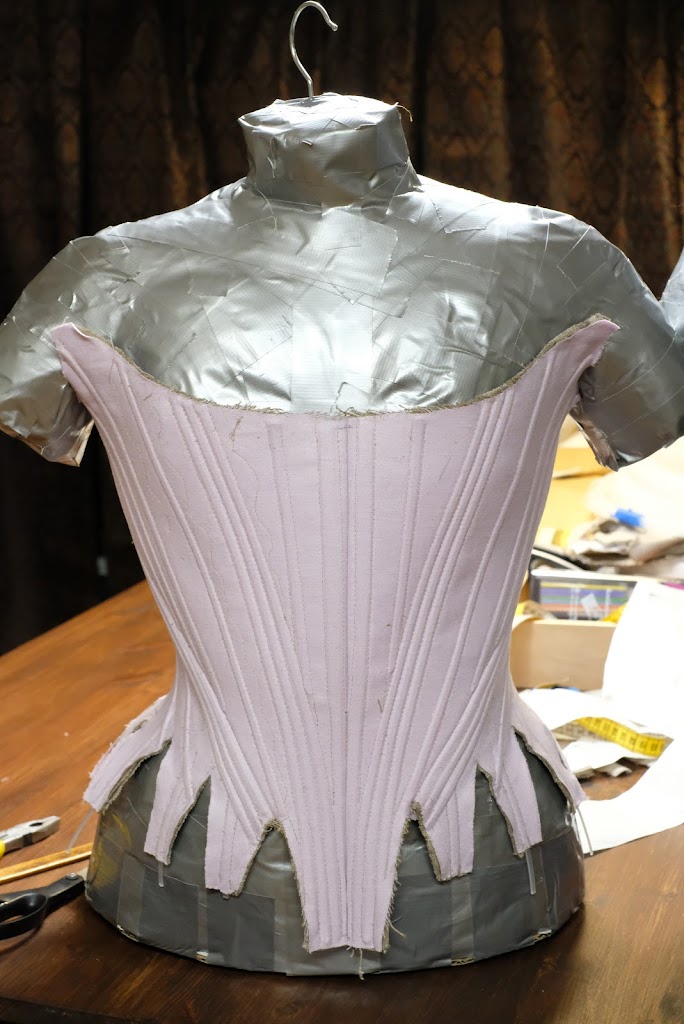
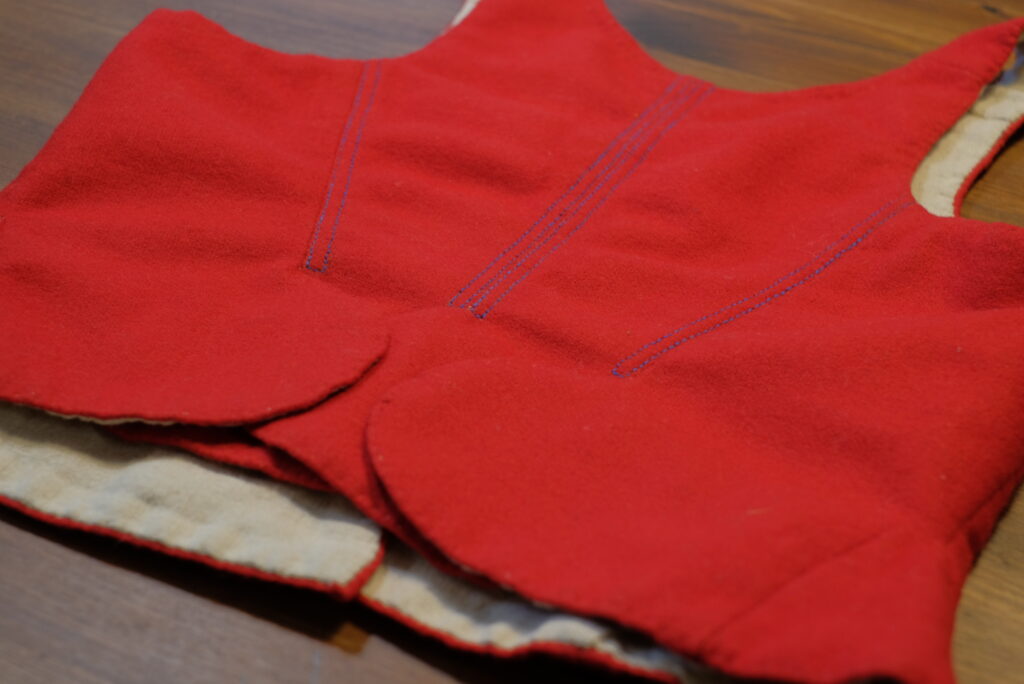
How to make pink stays- part 2 A ducktape dressform is great to make small changes! It is not as good as your self as you have bones to work around but its better than having to lace up every time! 🙂And here are the final stays!!
 I just realized I never did the shoulder straps haha! I will add those later then..